The 'Automatic Dimensioning' function in SuCri simplifies adding dimensions to viewports.
Video Tutorial
tbc
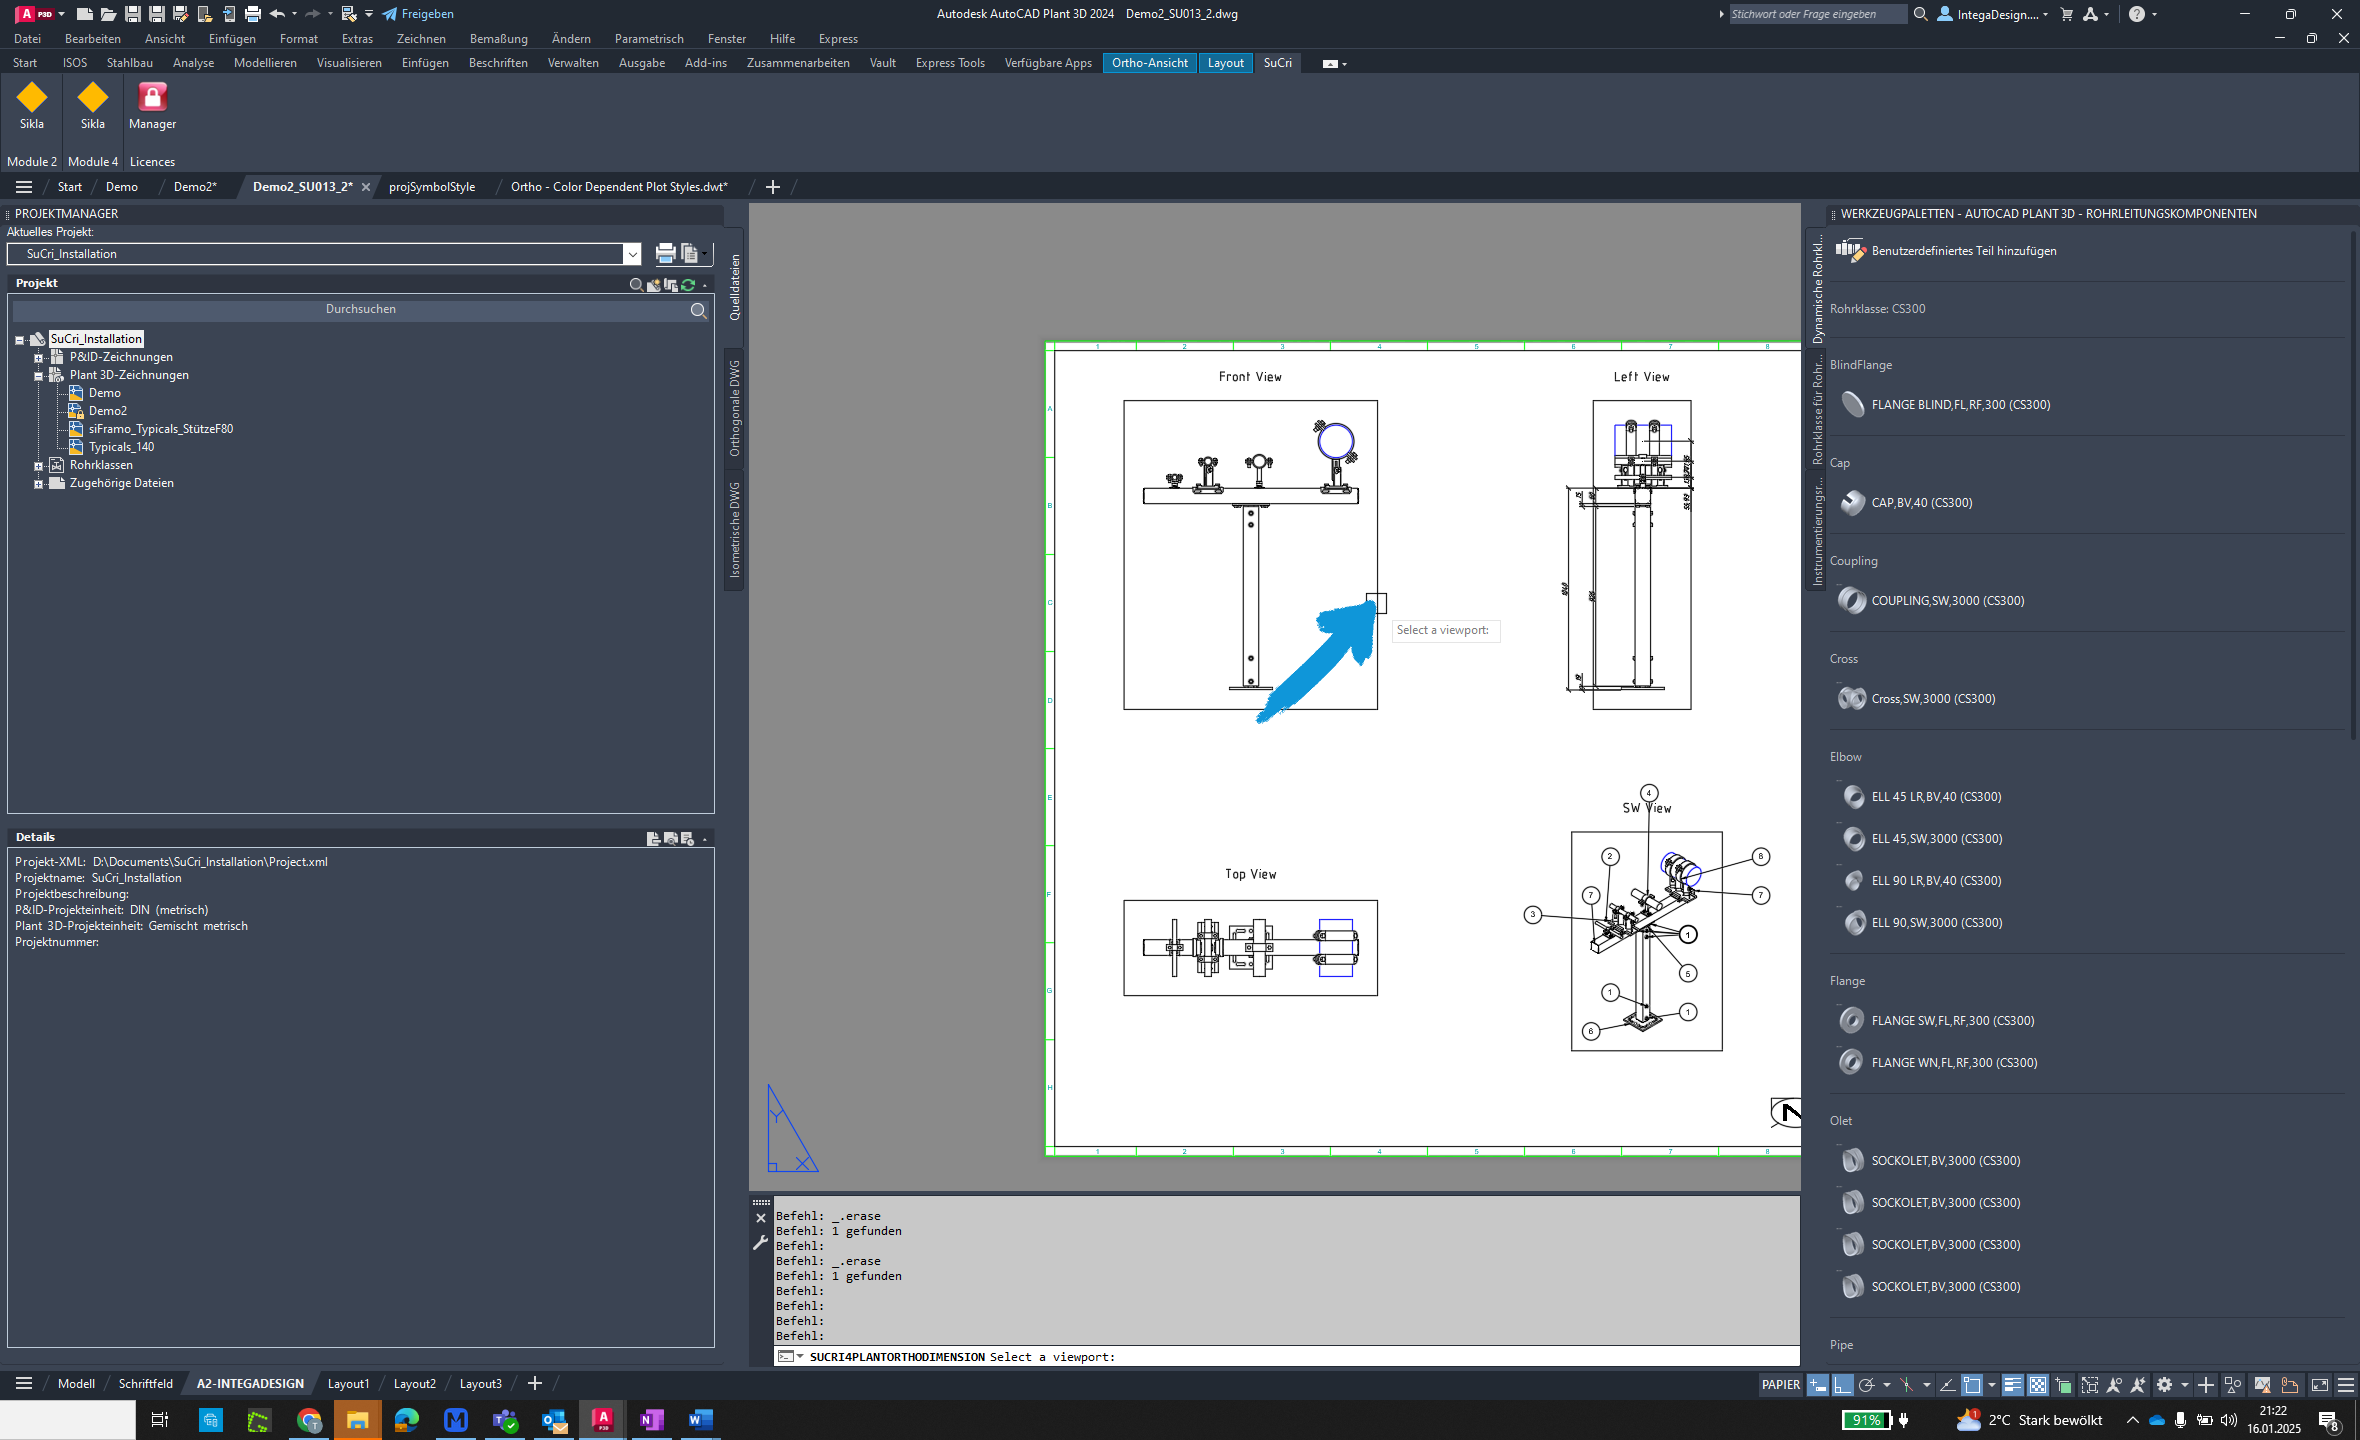
Plant3D Command
SUCRI4PLANTORTHODIMENSION
Step-by-Step Guide
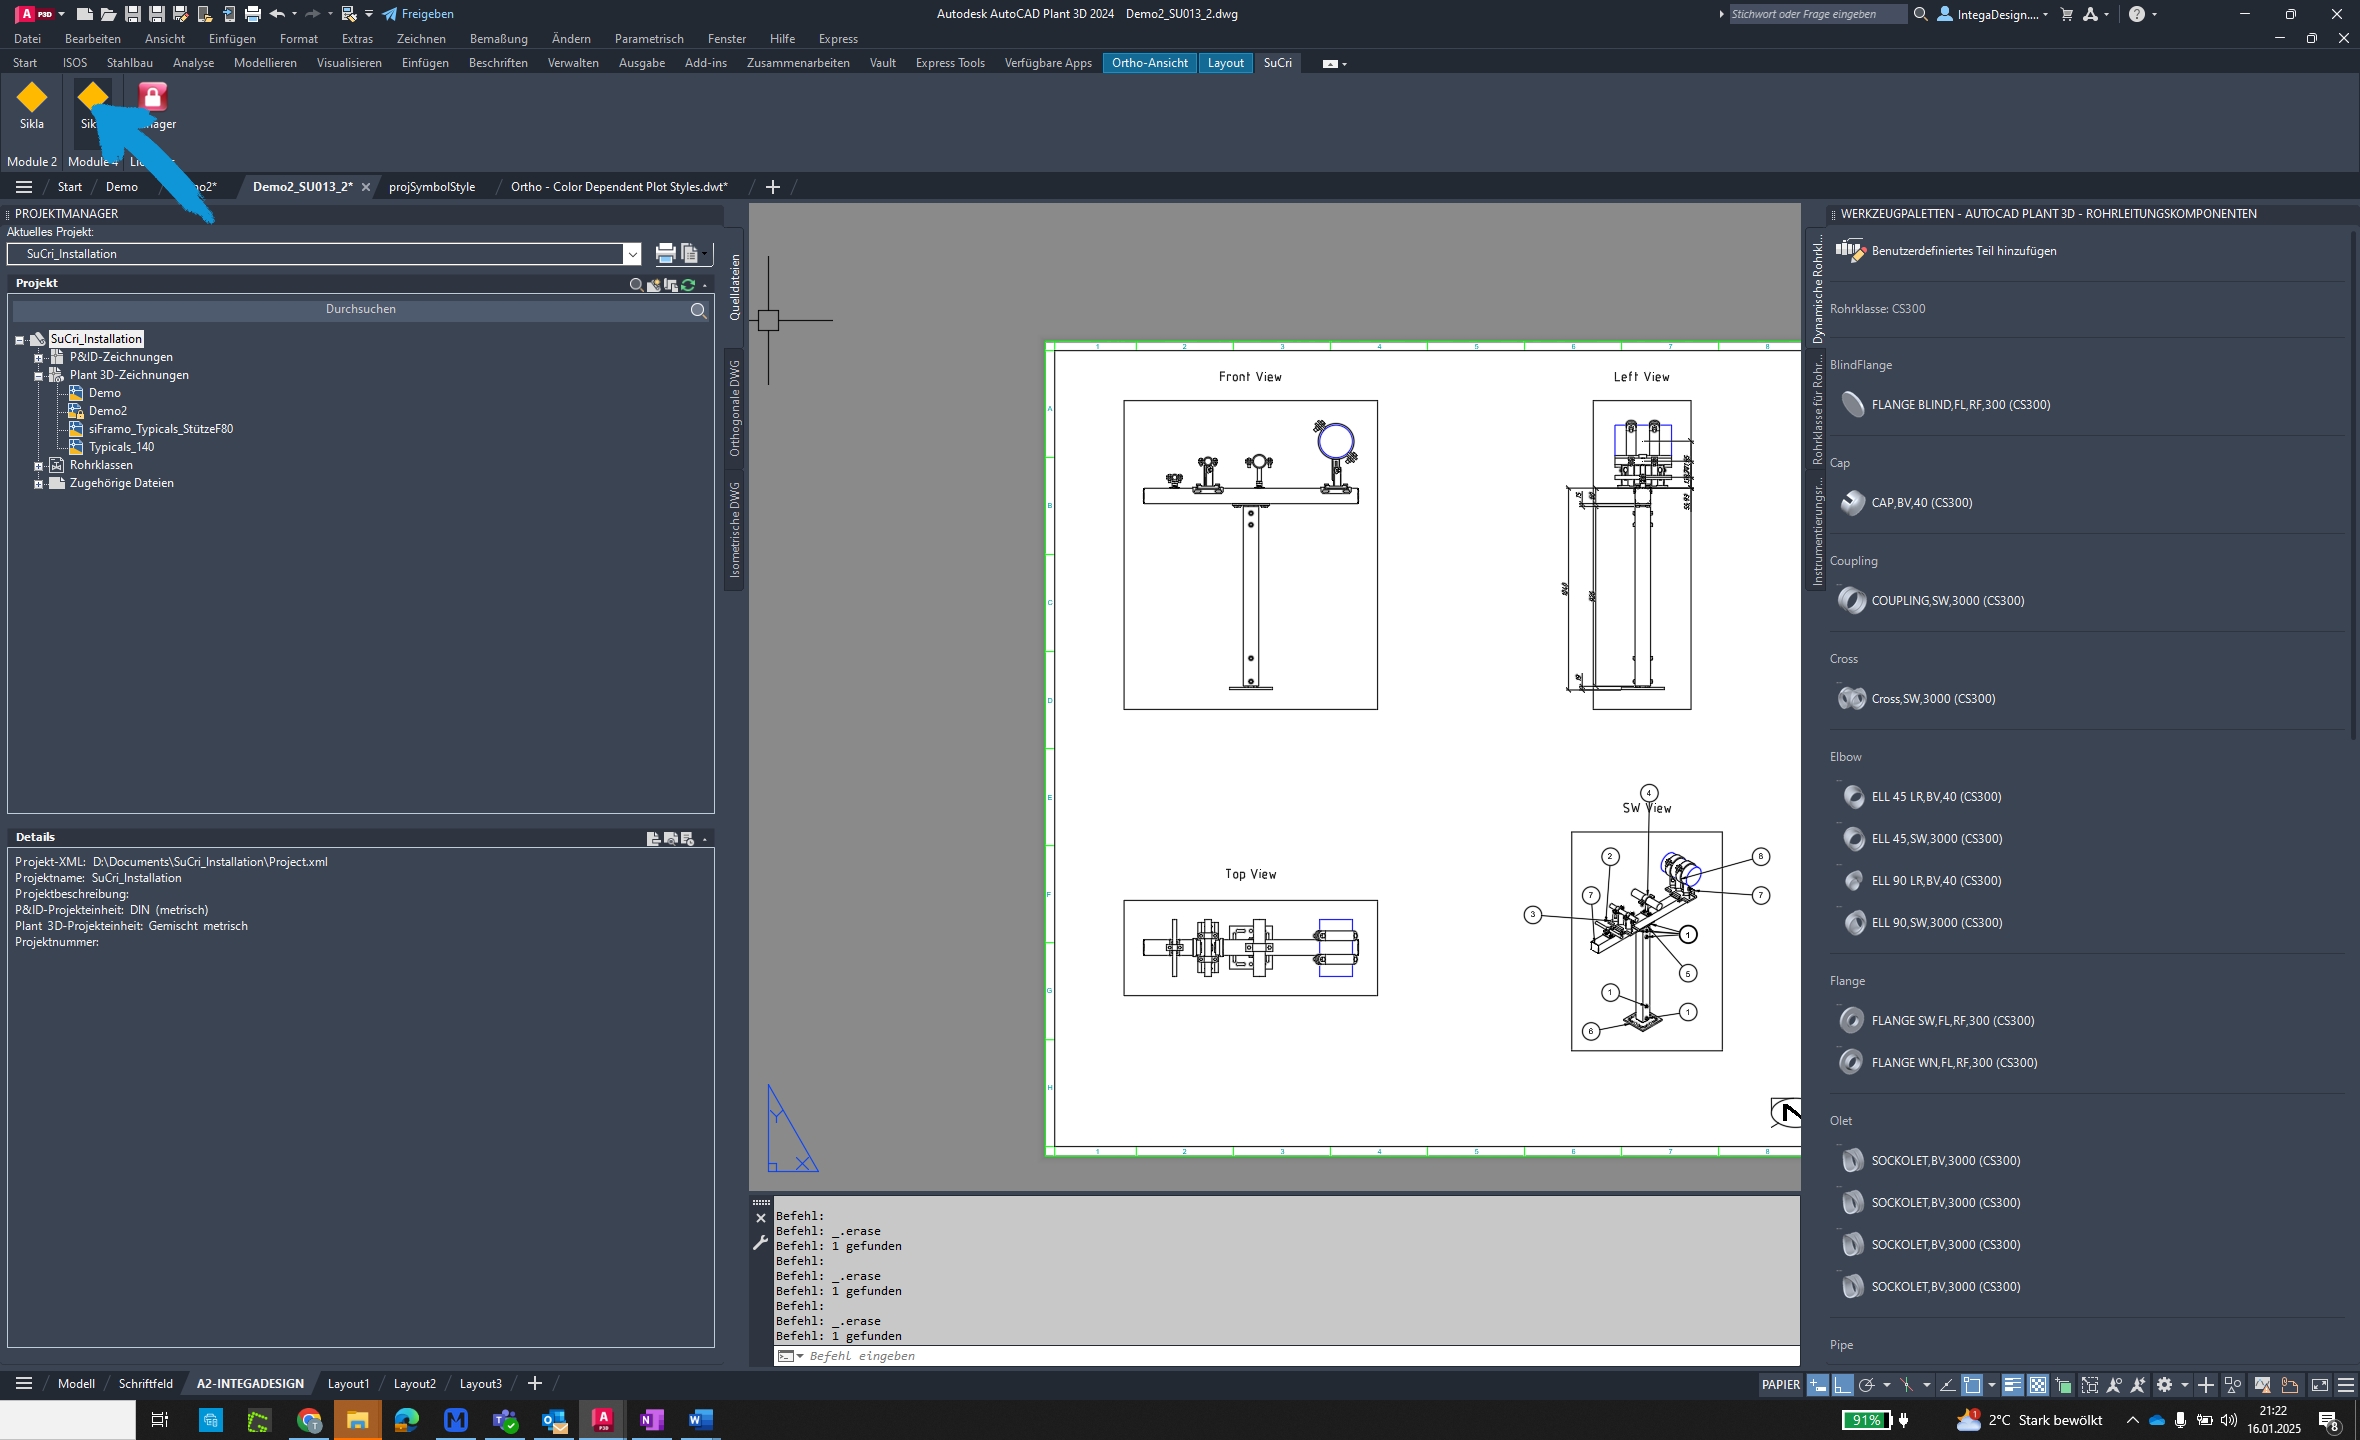
Step 1: Open Module 4
Click the button to open the Module 4 dialog.
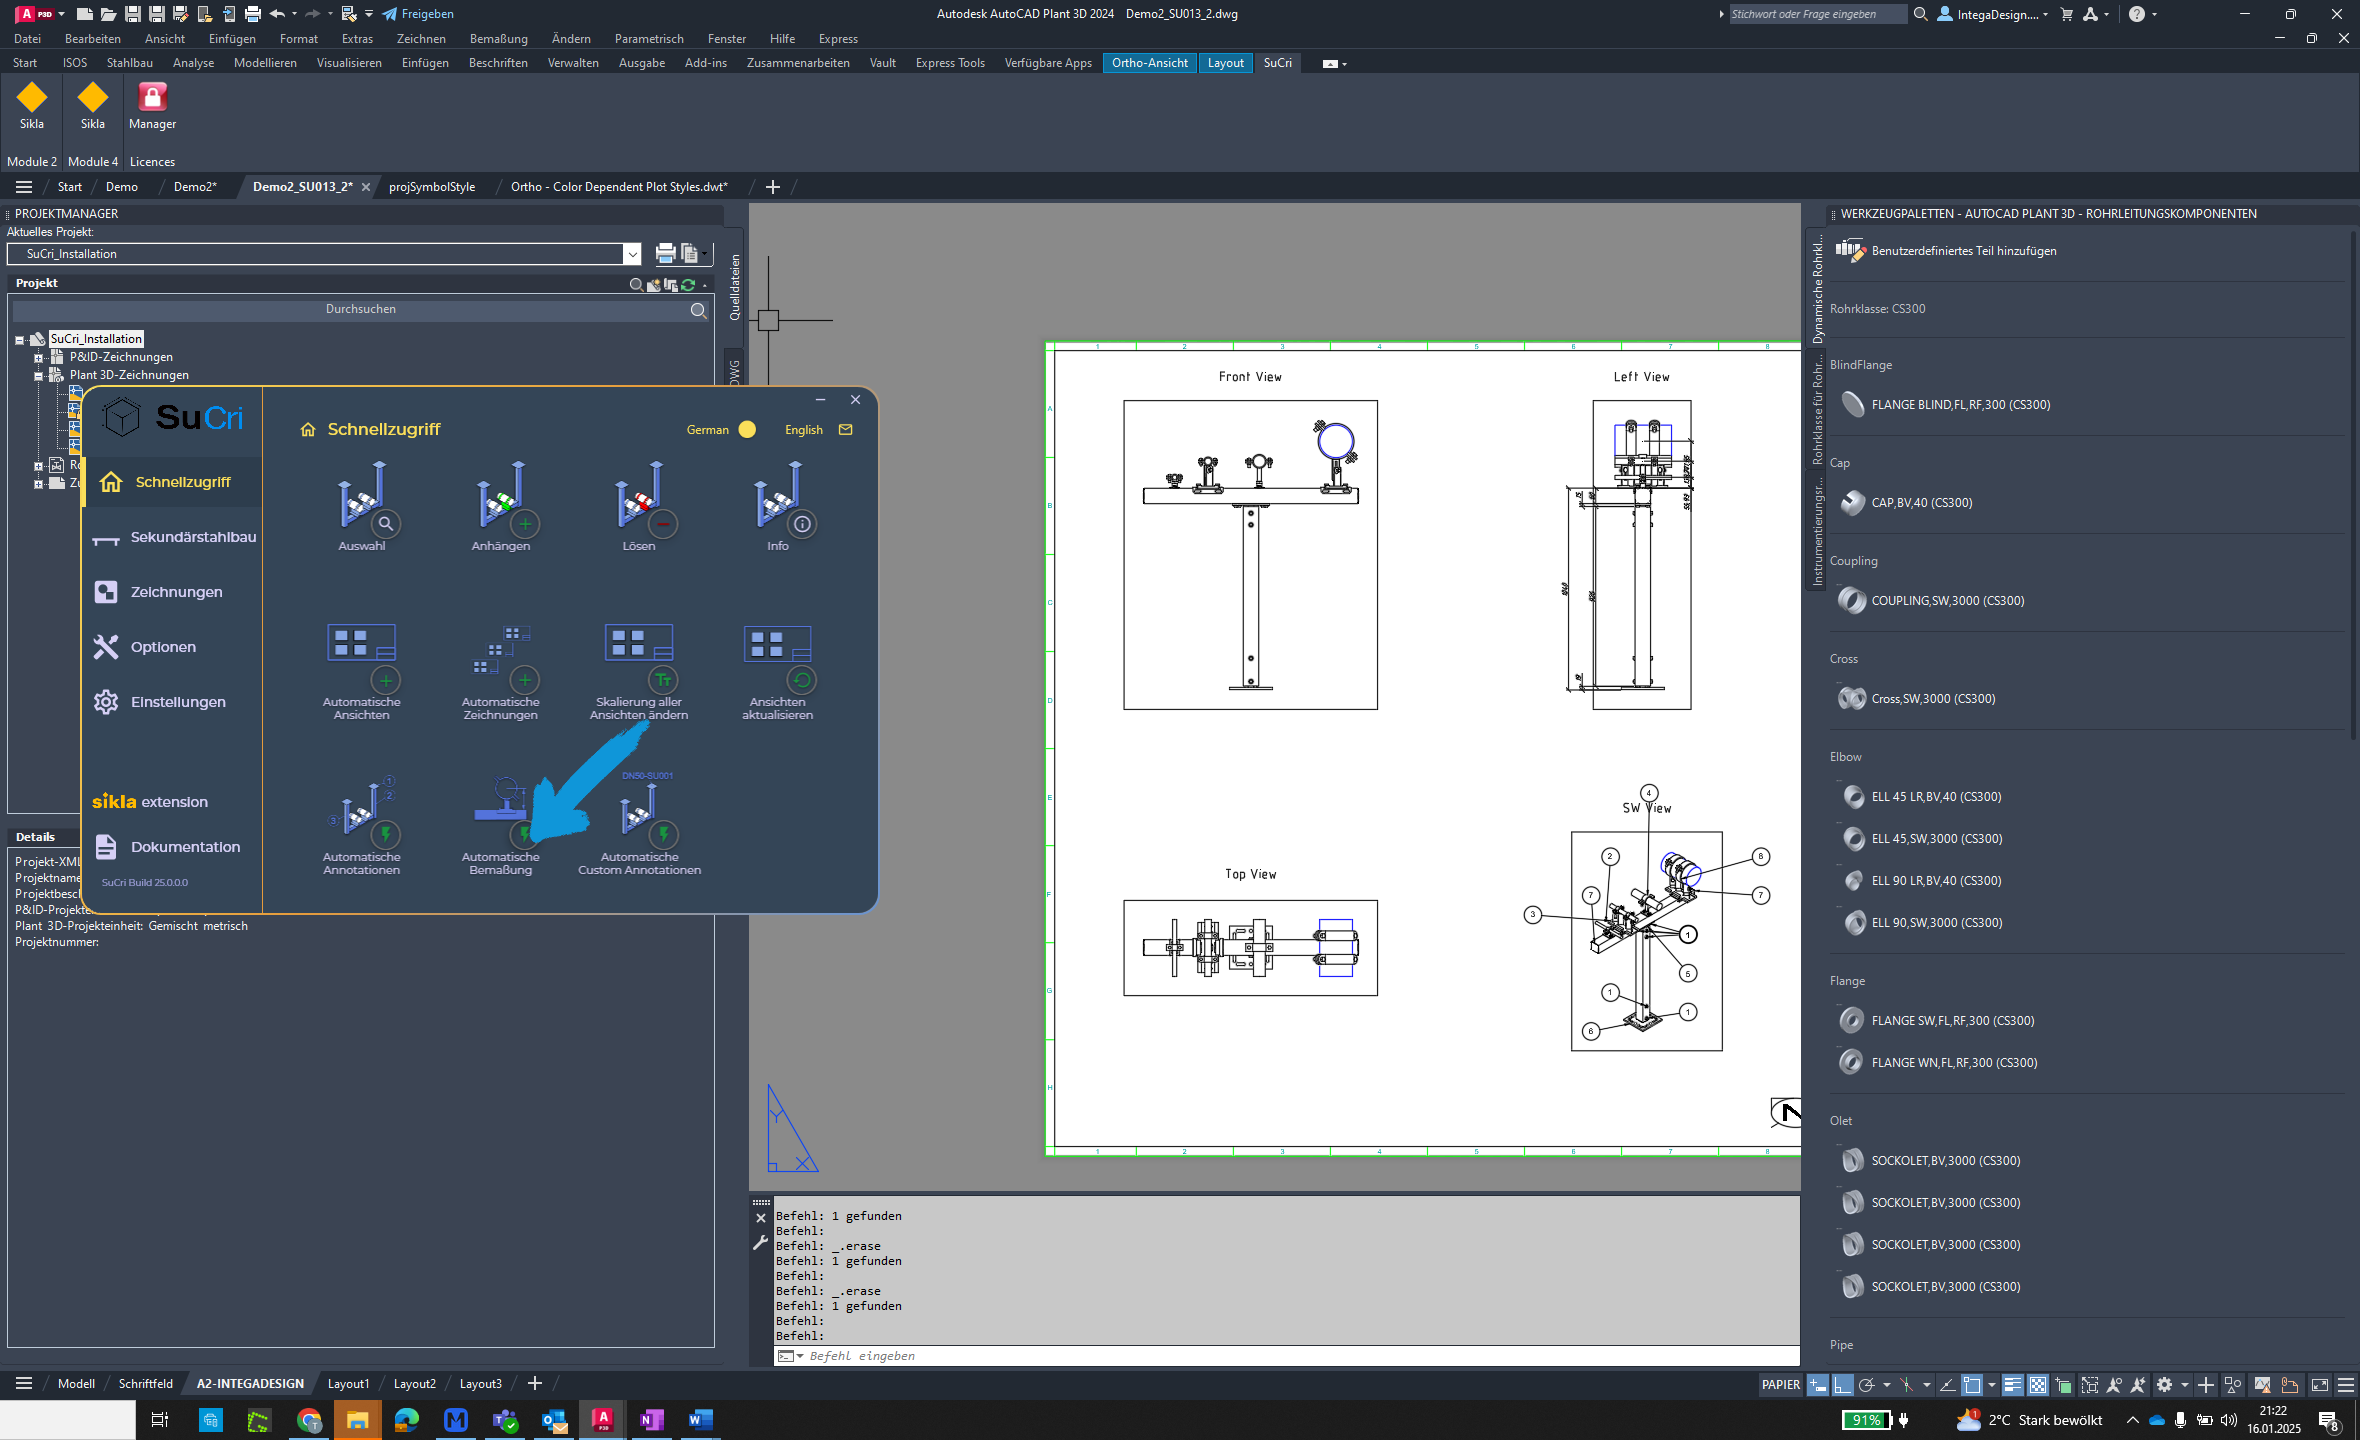
Step 2: Use Quick Access
Click on "Quick Access" to start the function.

Step 3: Automatic Dimensioning
Click the "Automatic Dimensioning" button.
Step 4: Select Viewport
Select the desired viewport you want to dimension.
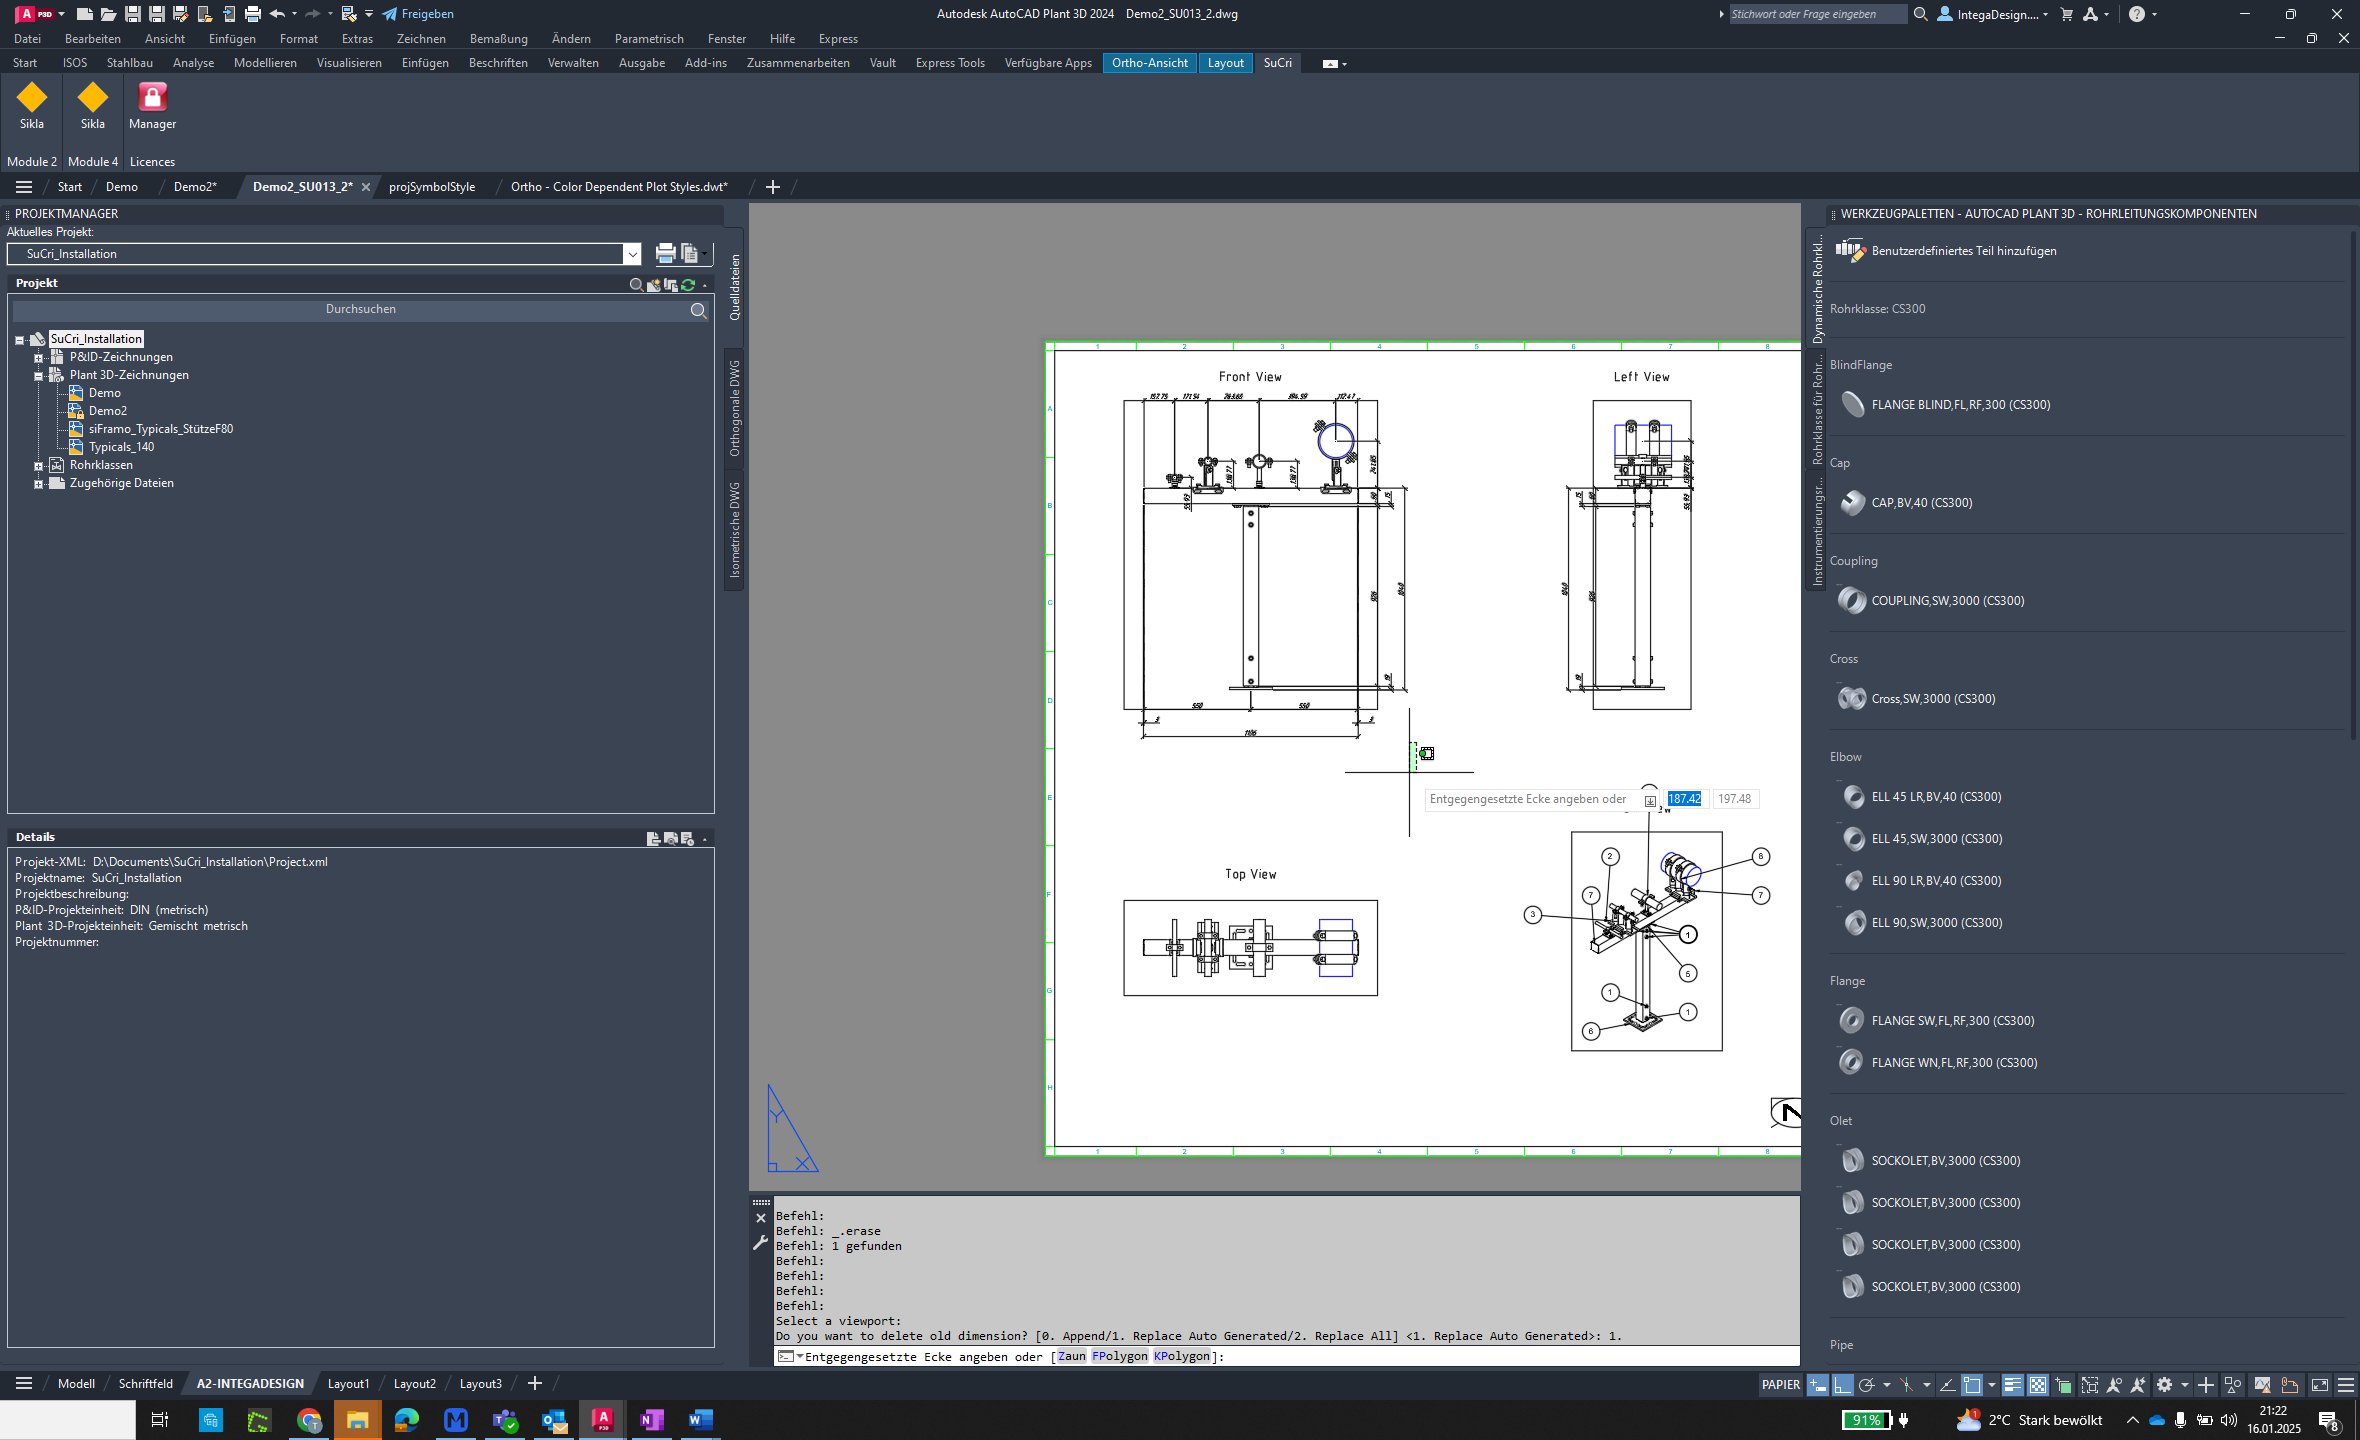
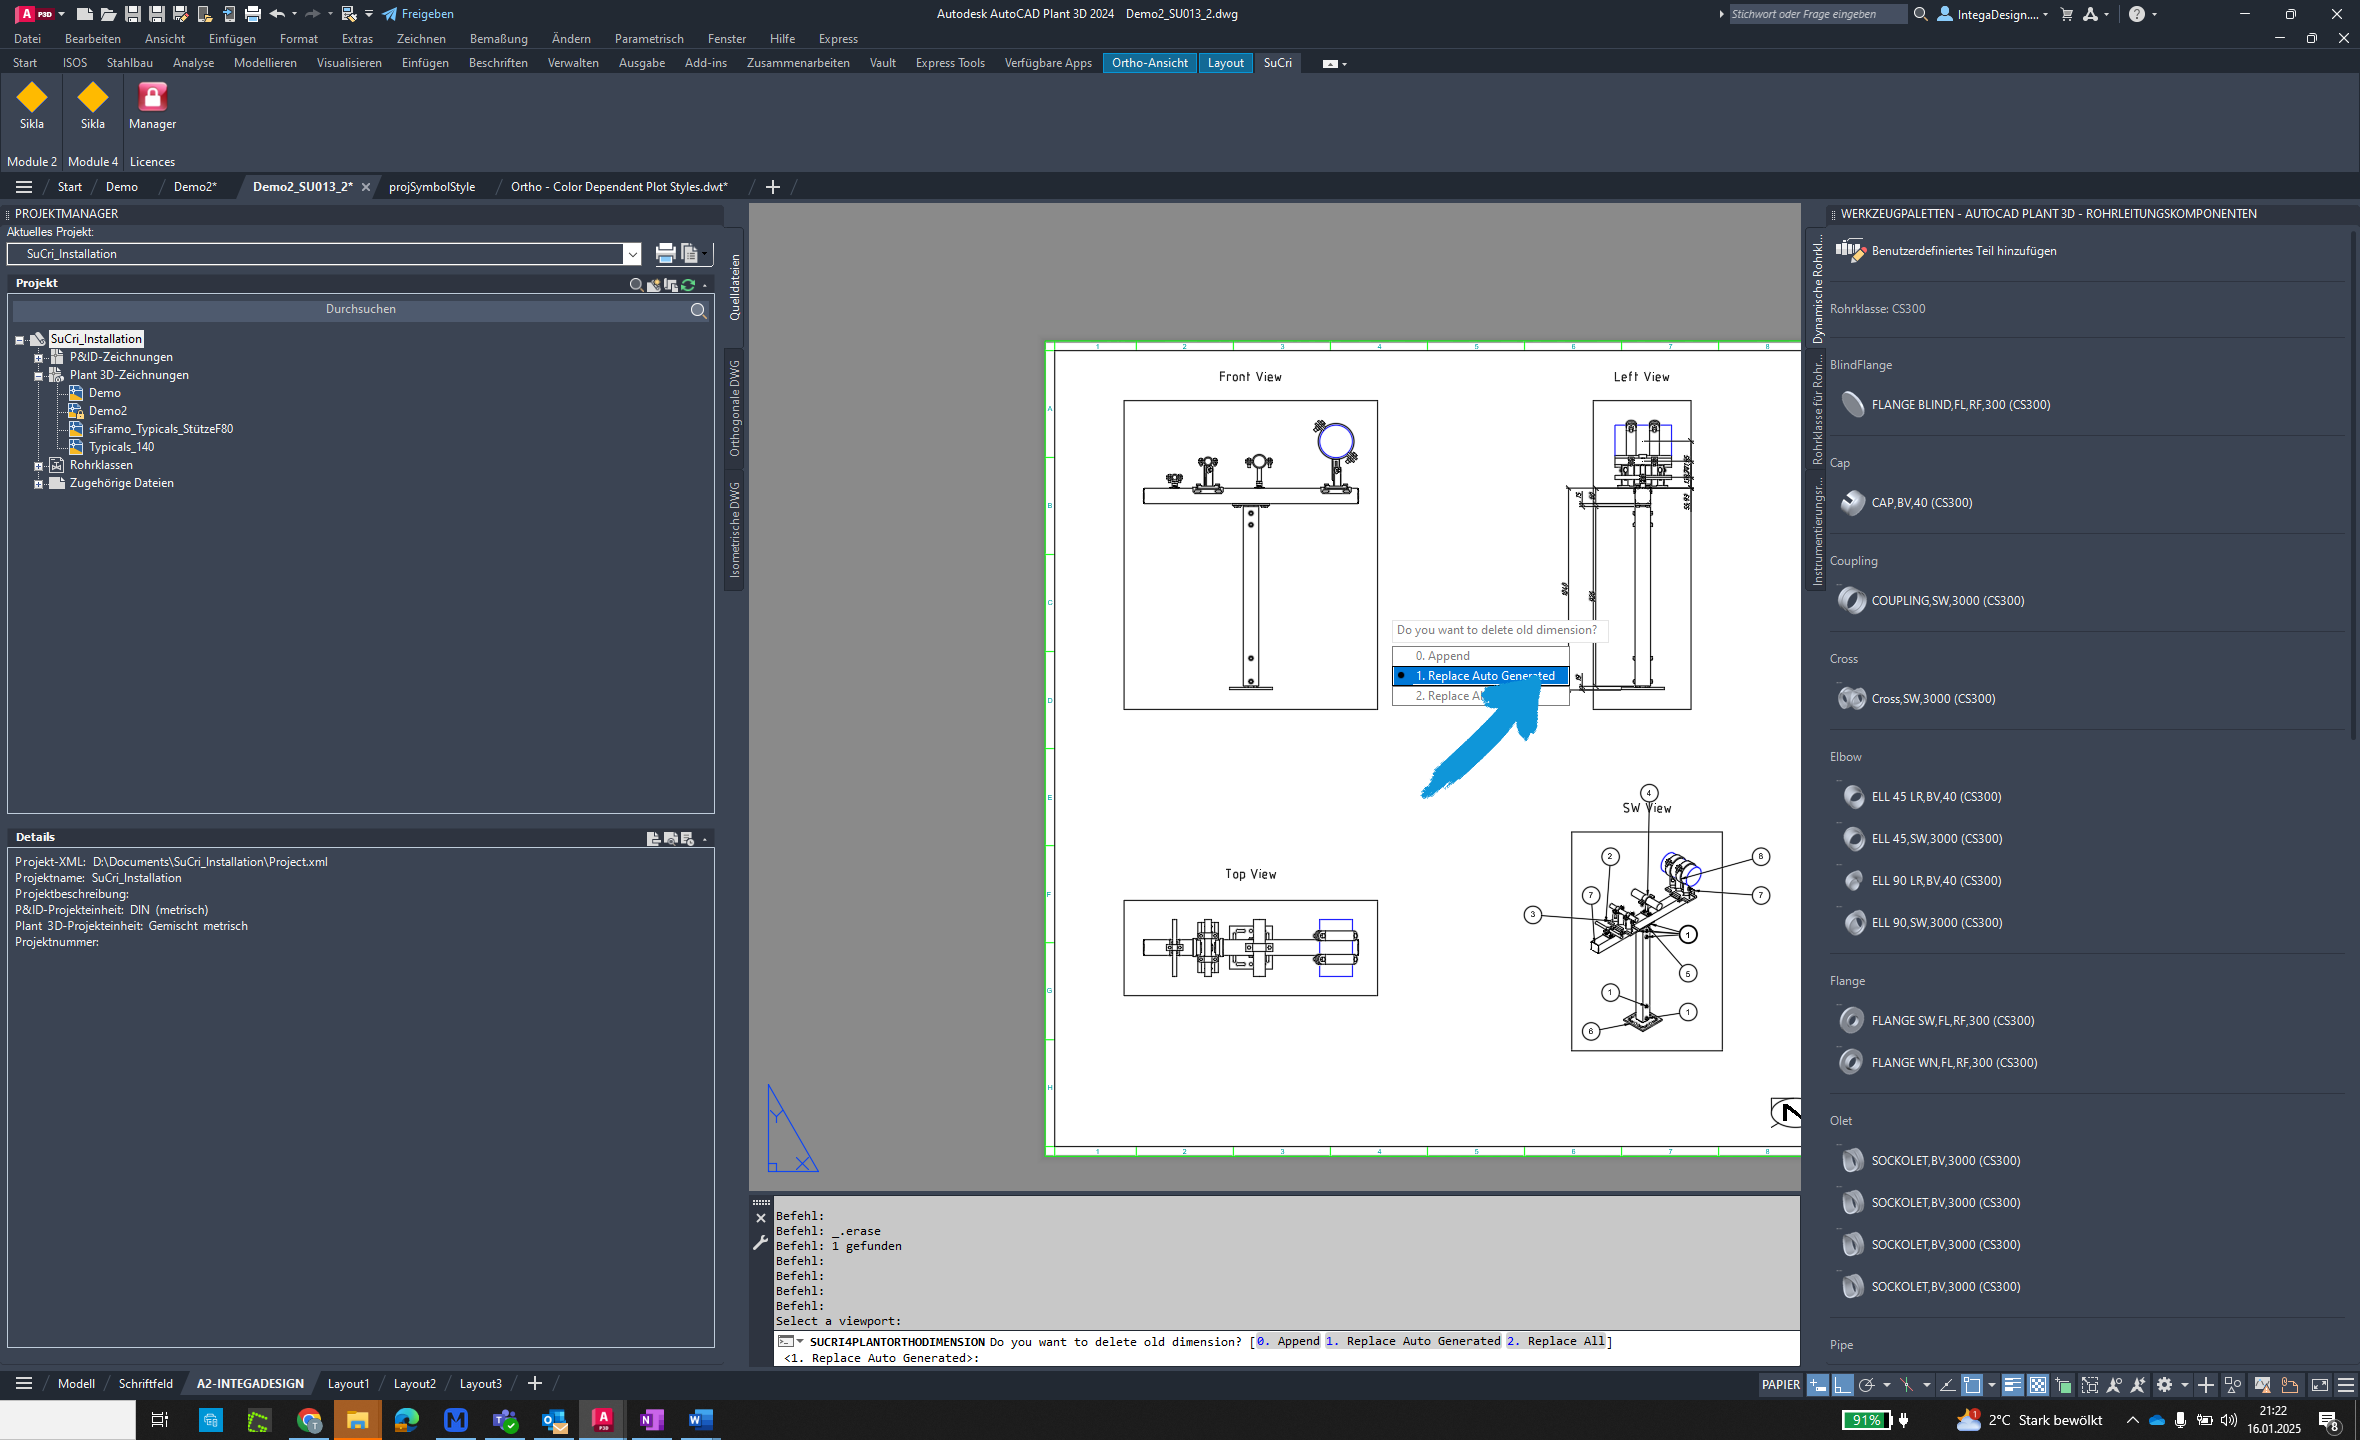
Step 5: Choose Dimensioning Option
Select your preferred dimensioning option from the list.
Step 6: Verify Success
The selected viewport has been dimensioned appropriately. Verify the results.