The 'Attach' function in SuCri allows seamless addition of assemblies to projects.
Video Tutorial
tbc
Plant3D Command
SUCRI4ATTACHSUPPORT
Step-by-Step Guide
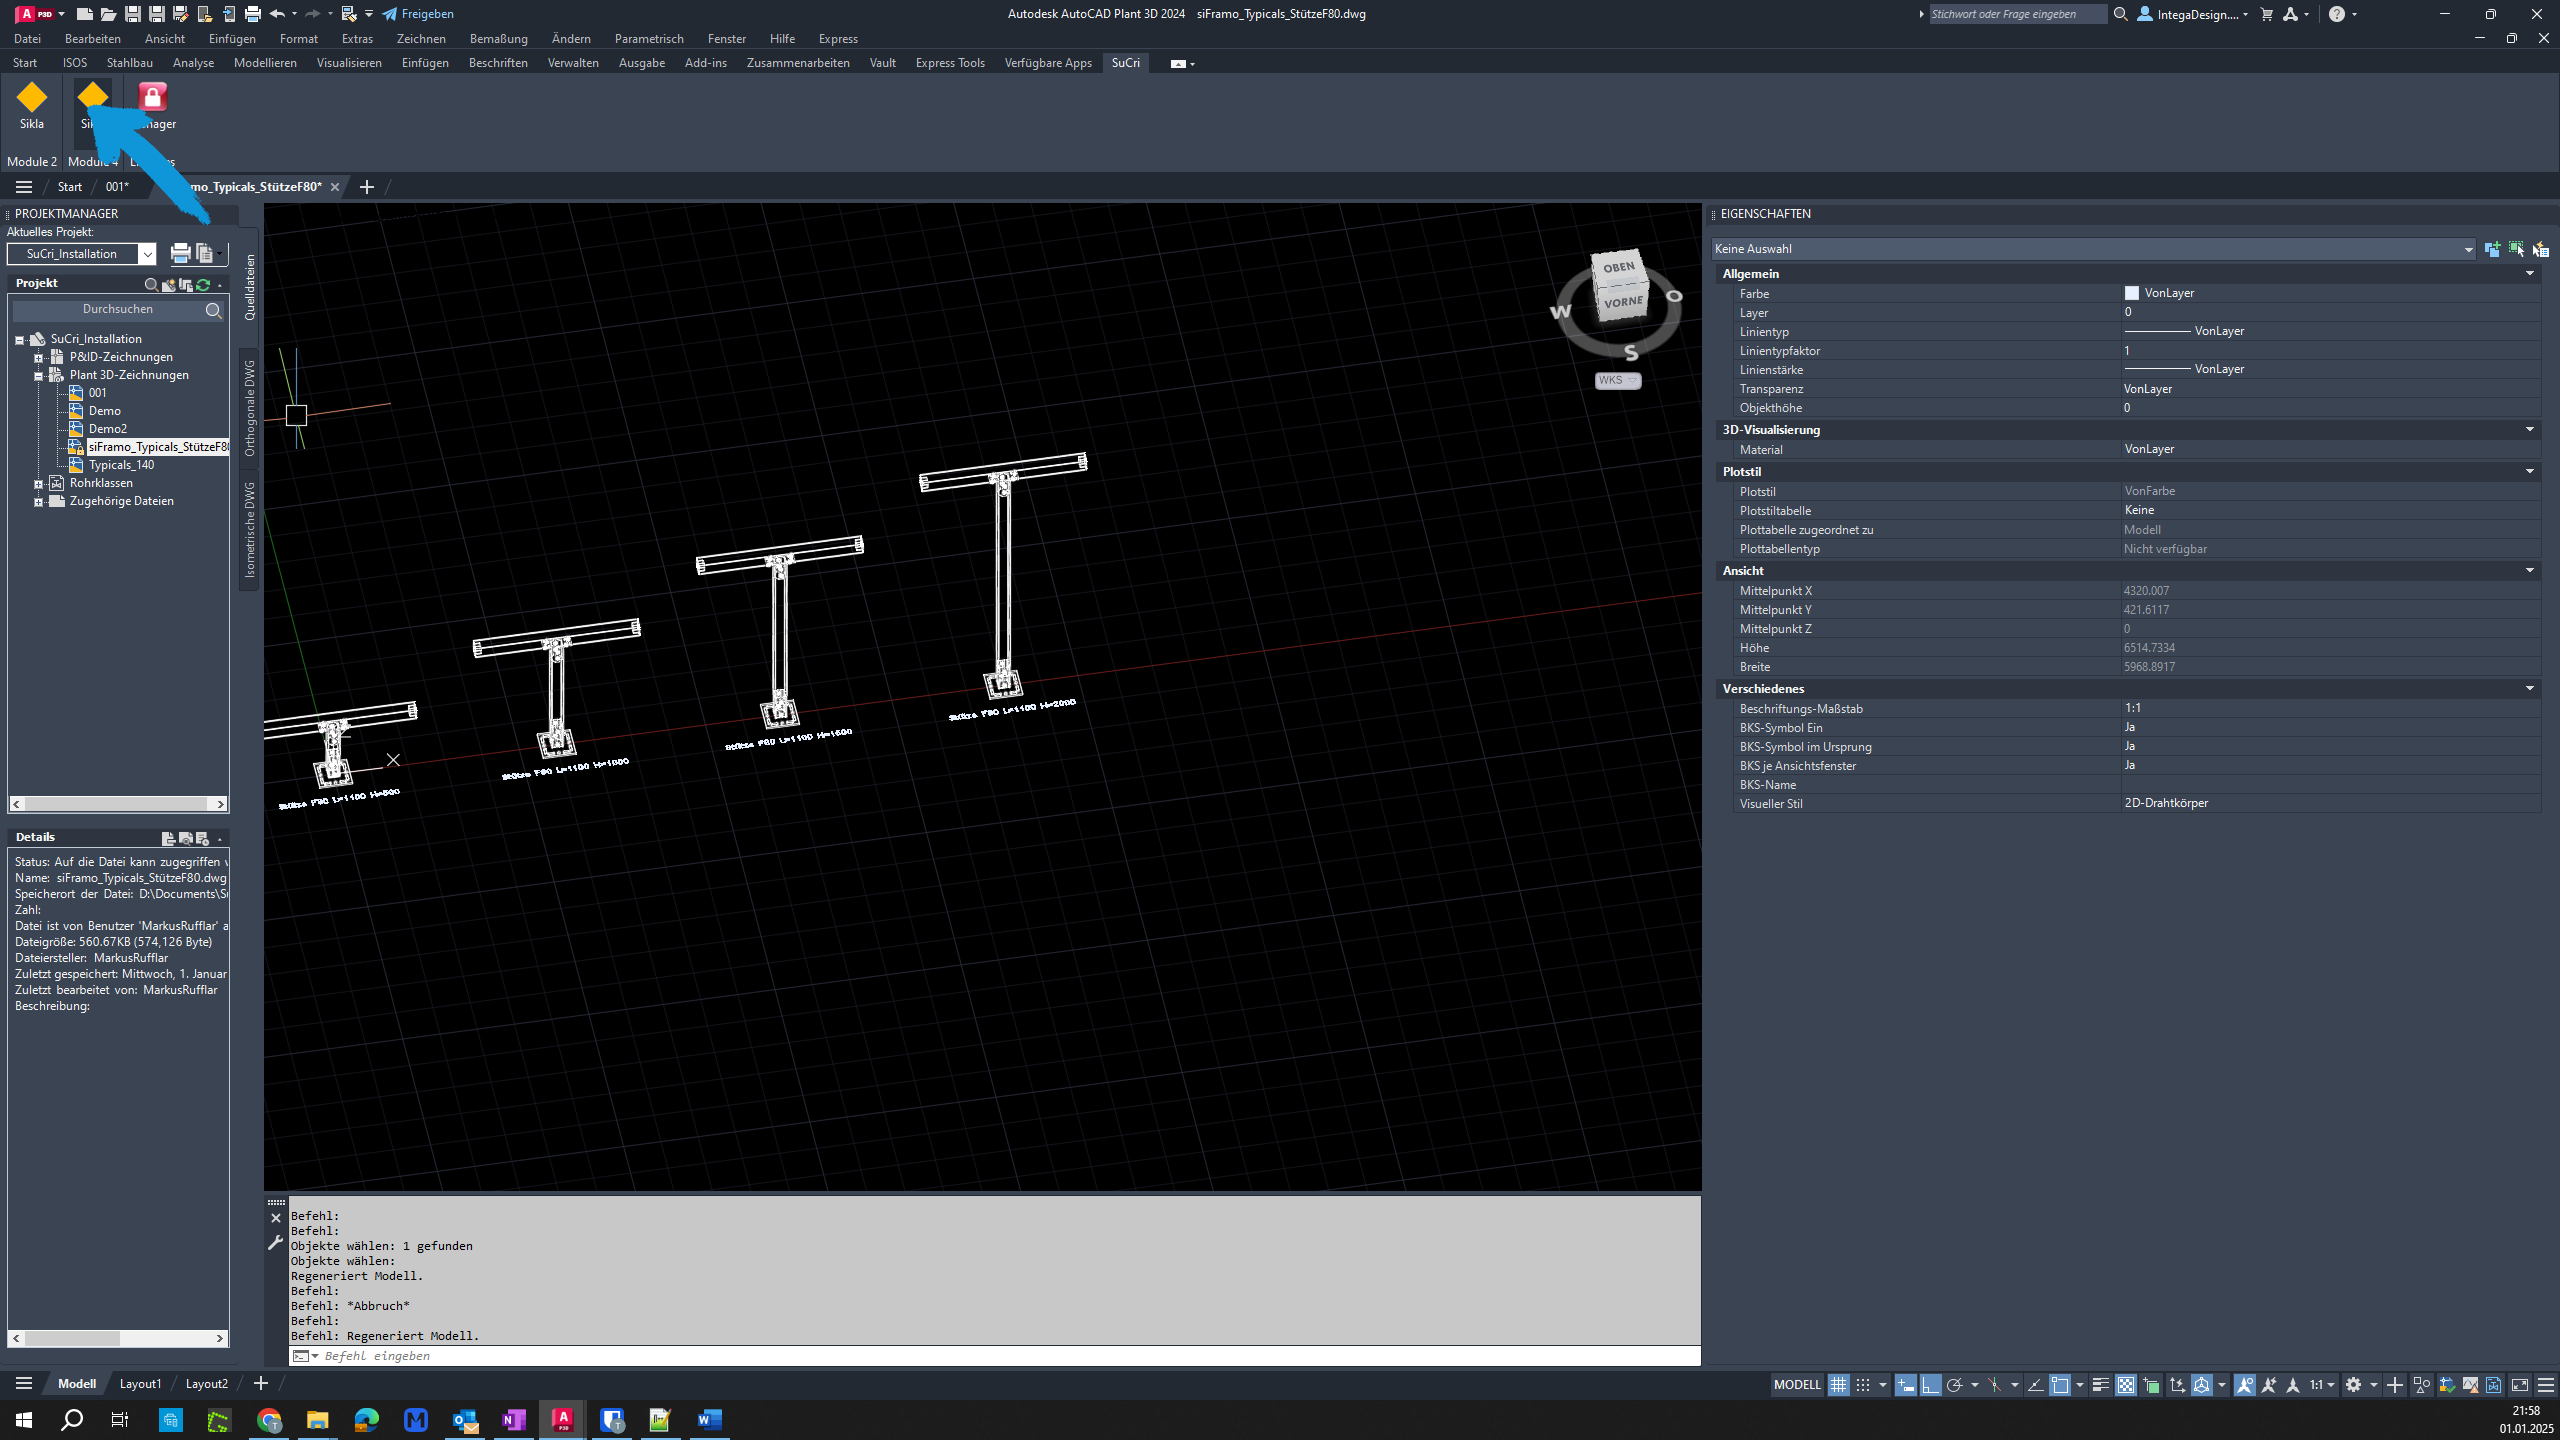
Step 1: Search for the option
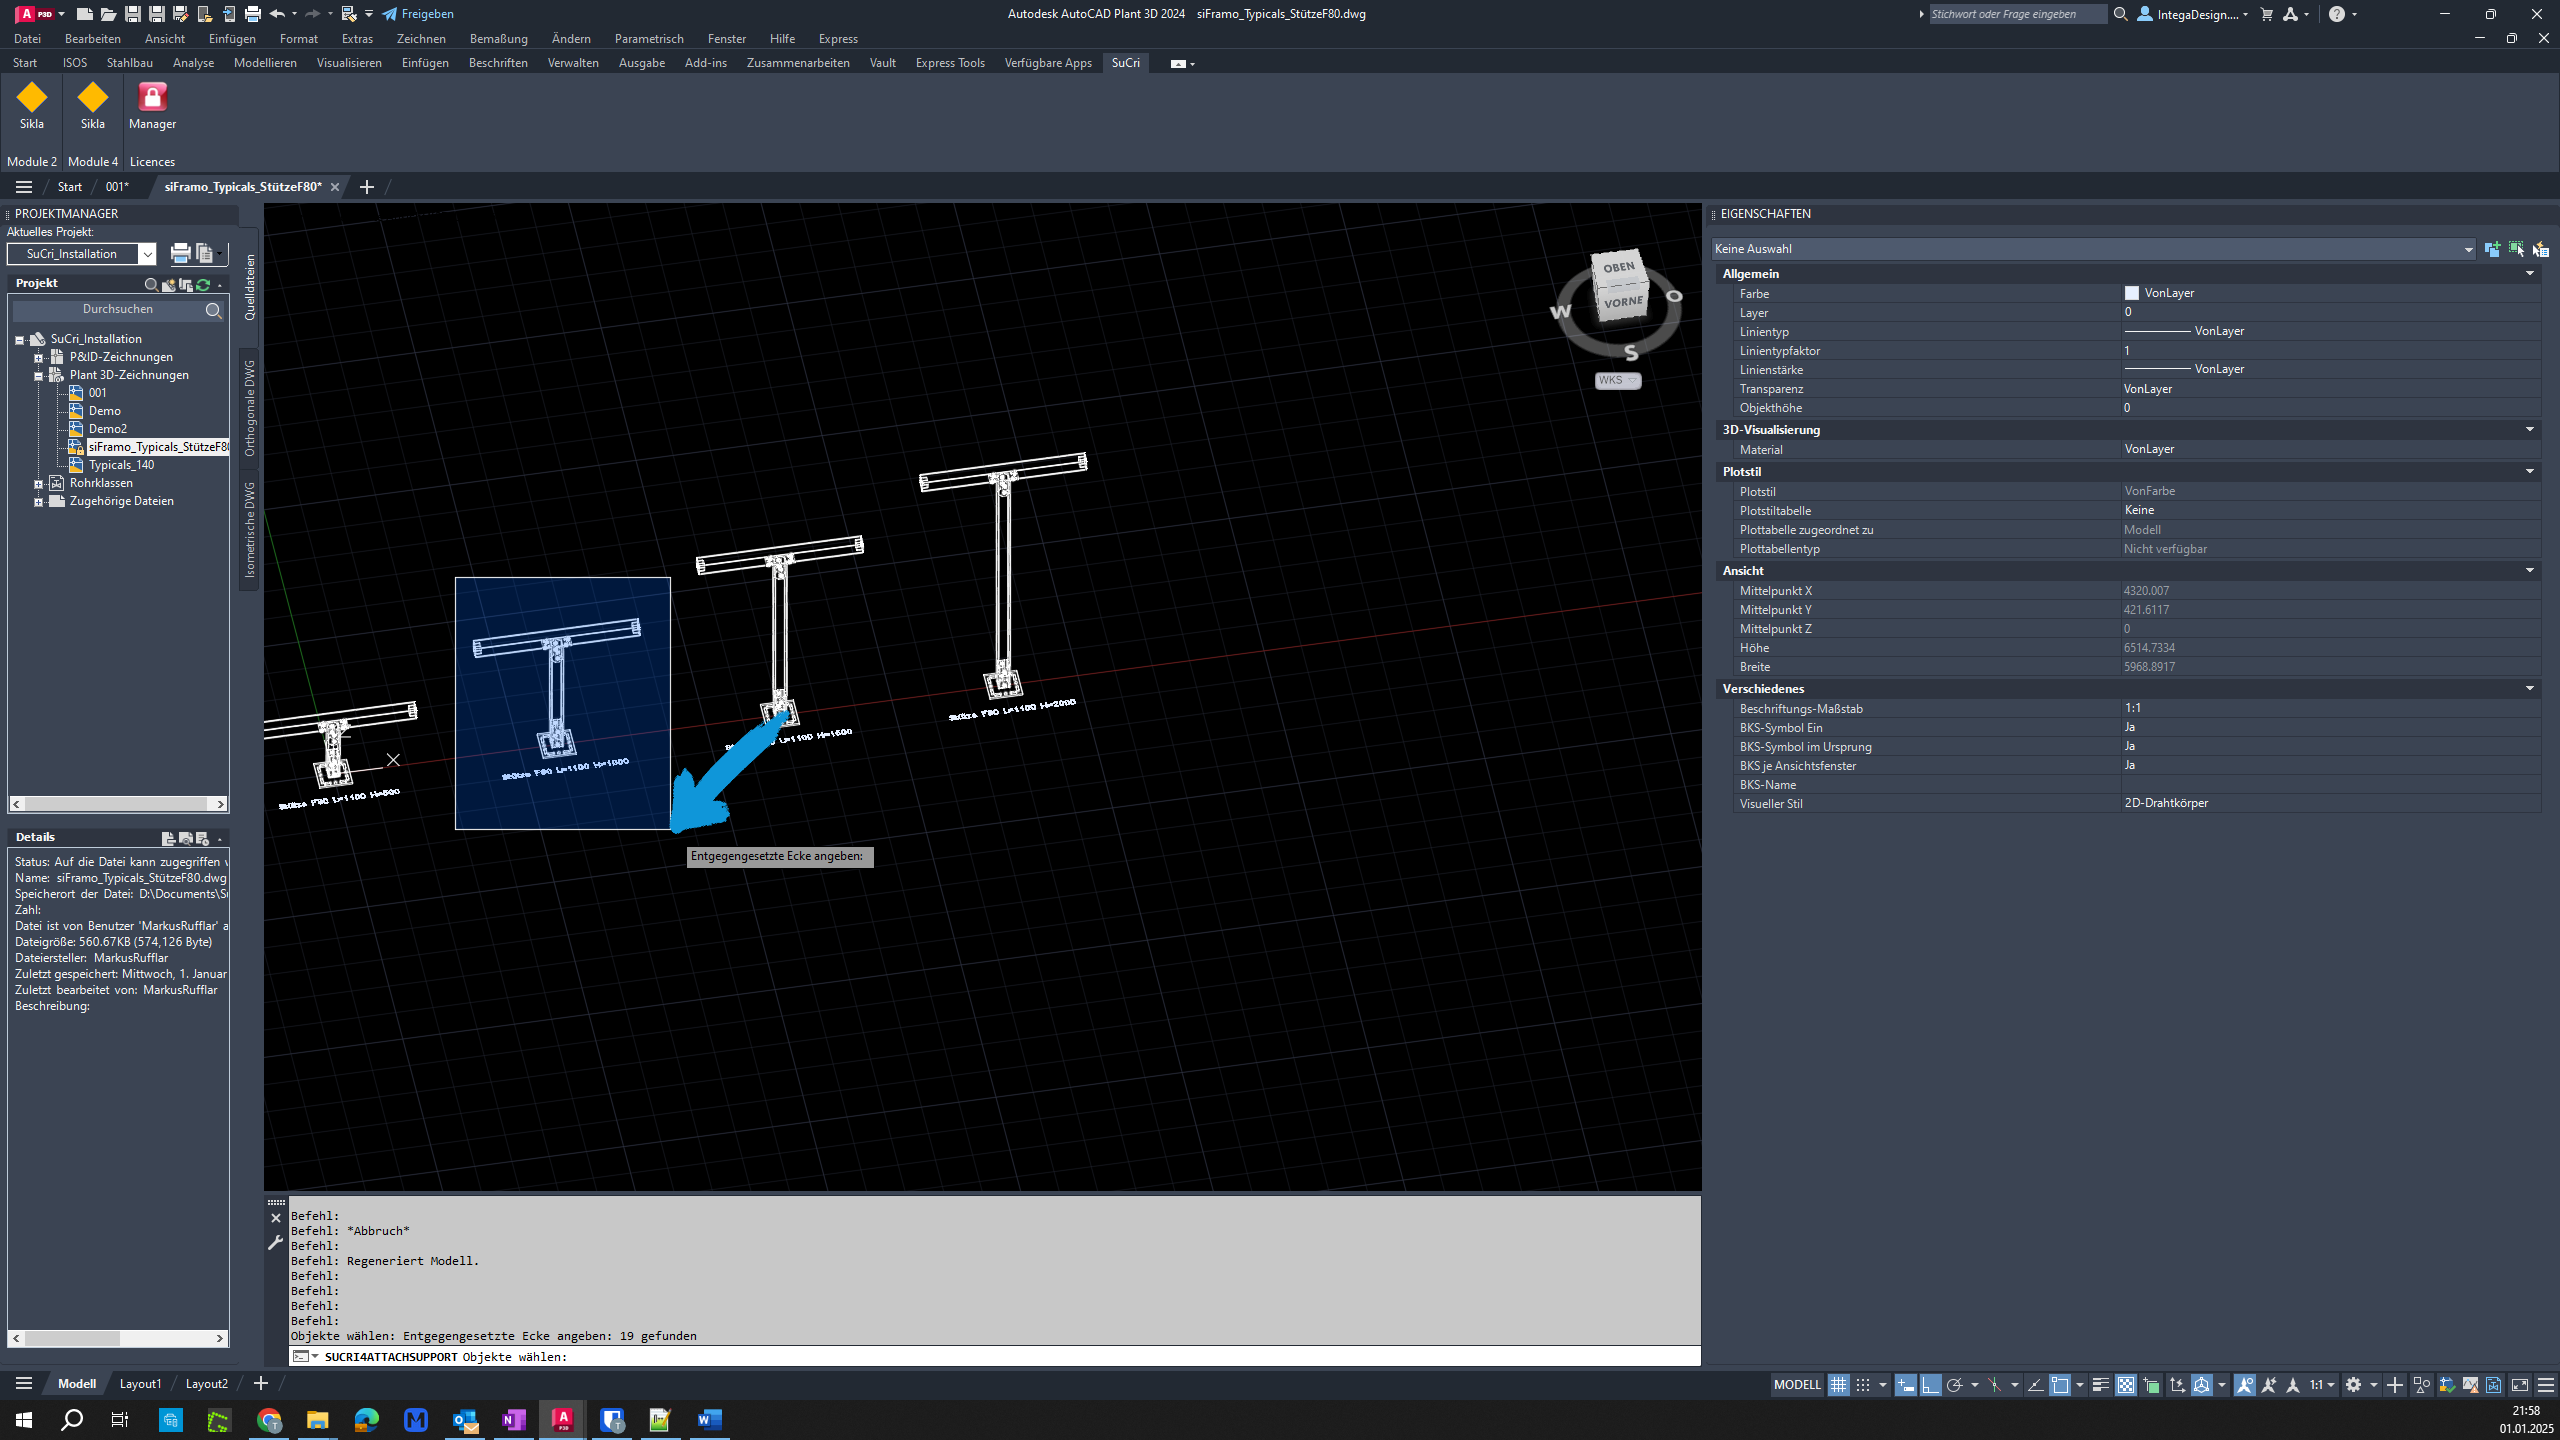
In AutoCAD Plant3D, search for the desired option to attach and click on it.

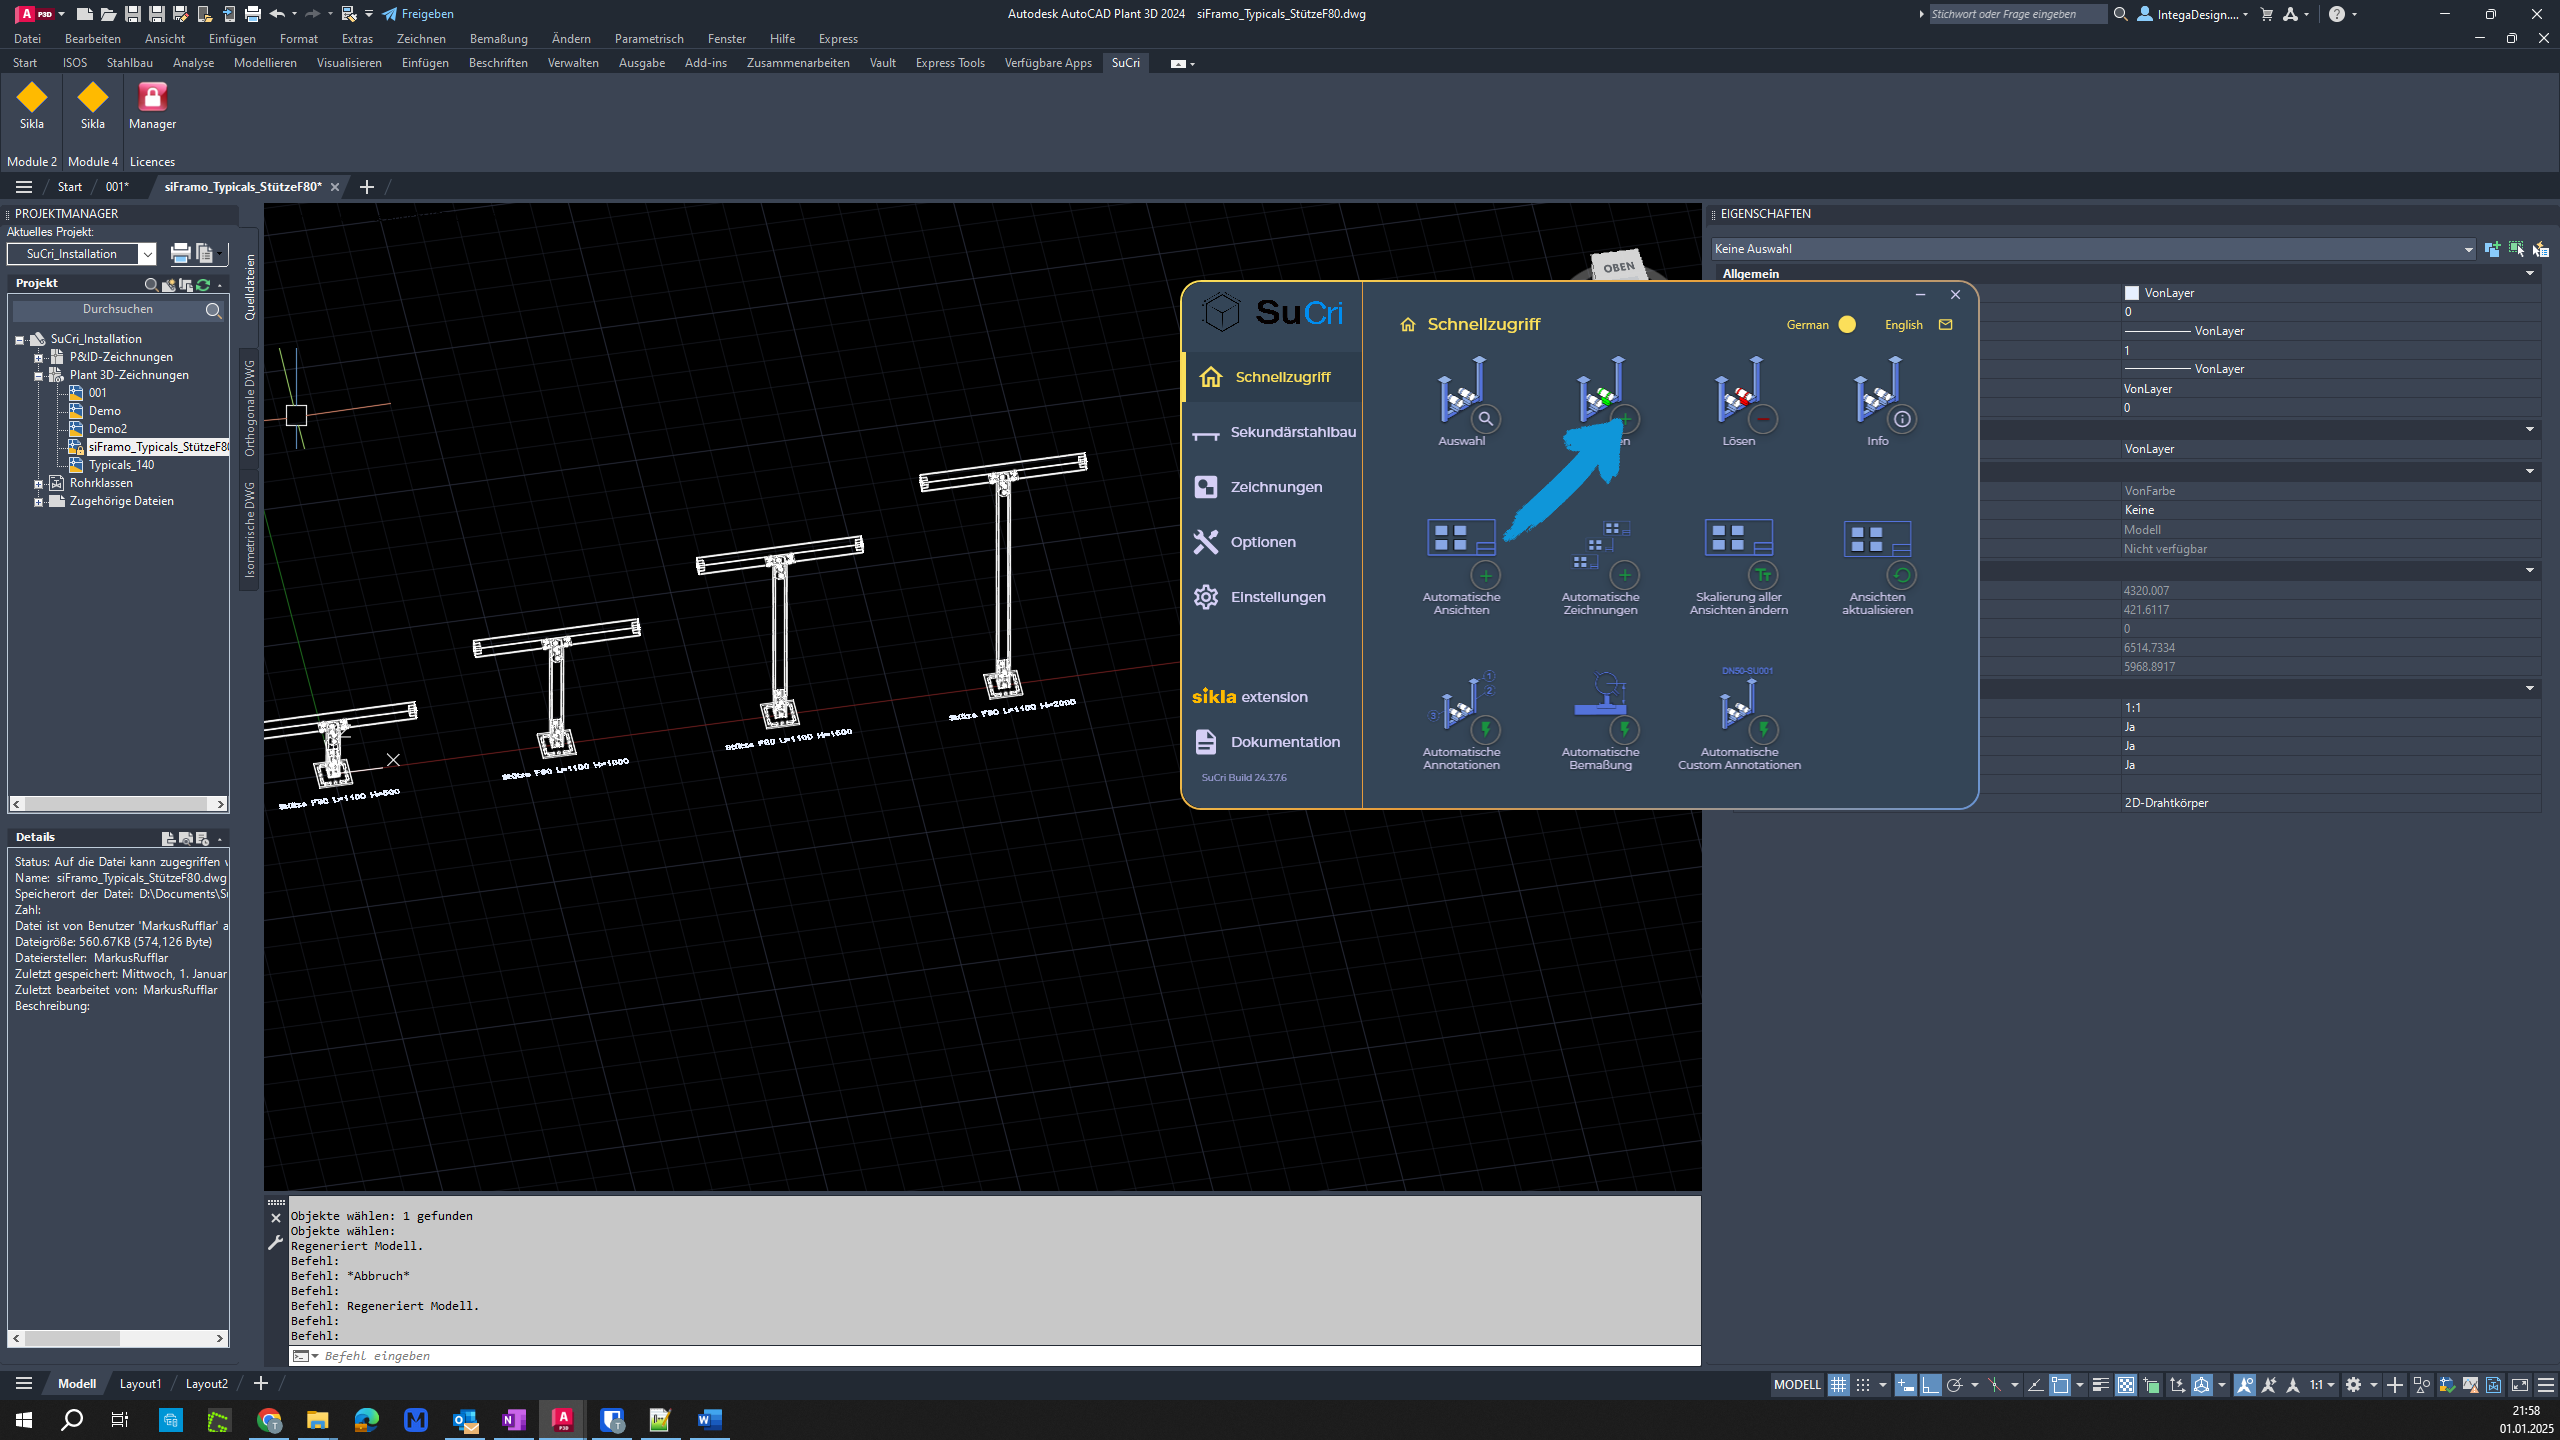
Step 2: Select button
Click the appropriate button to proceed with attaching the assembly.
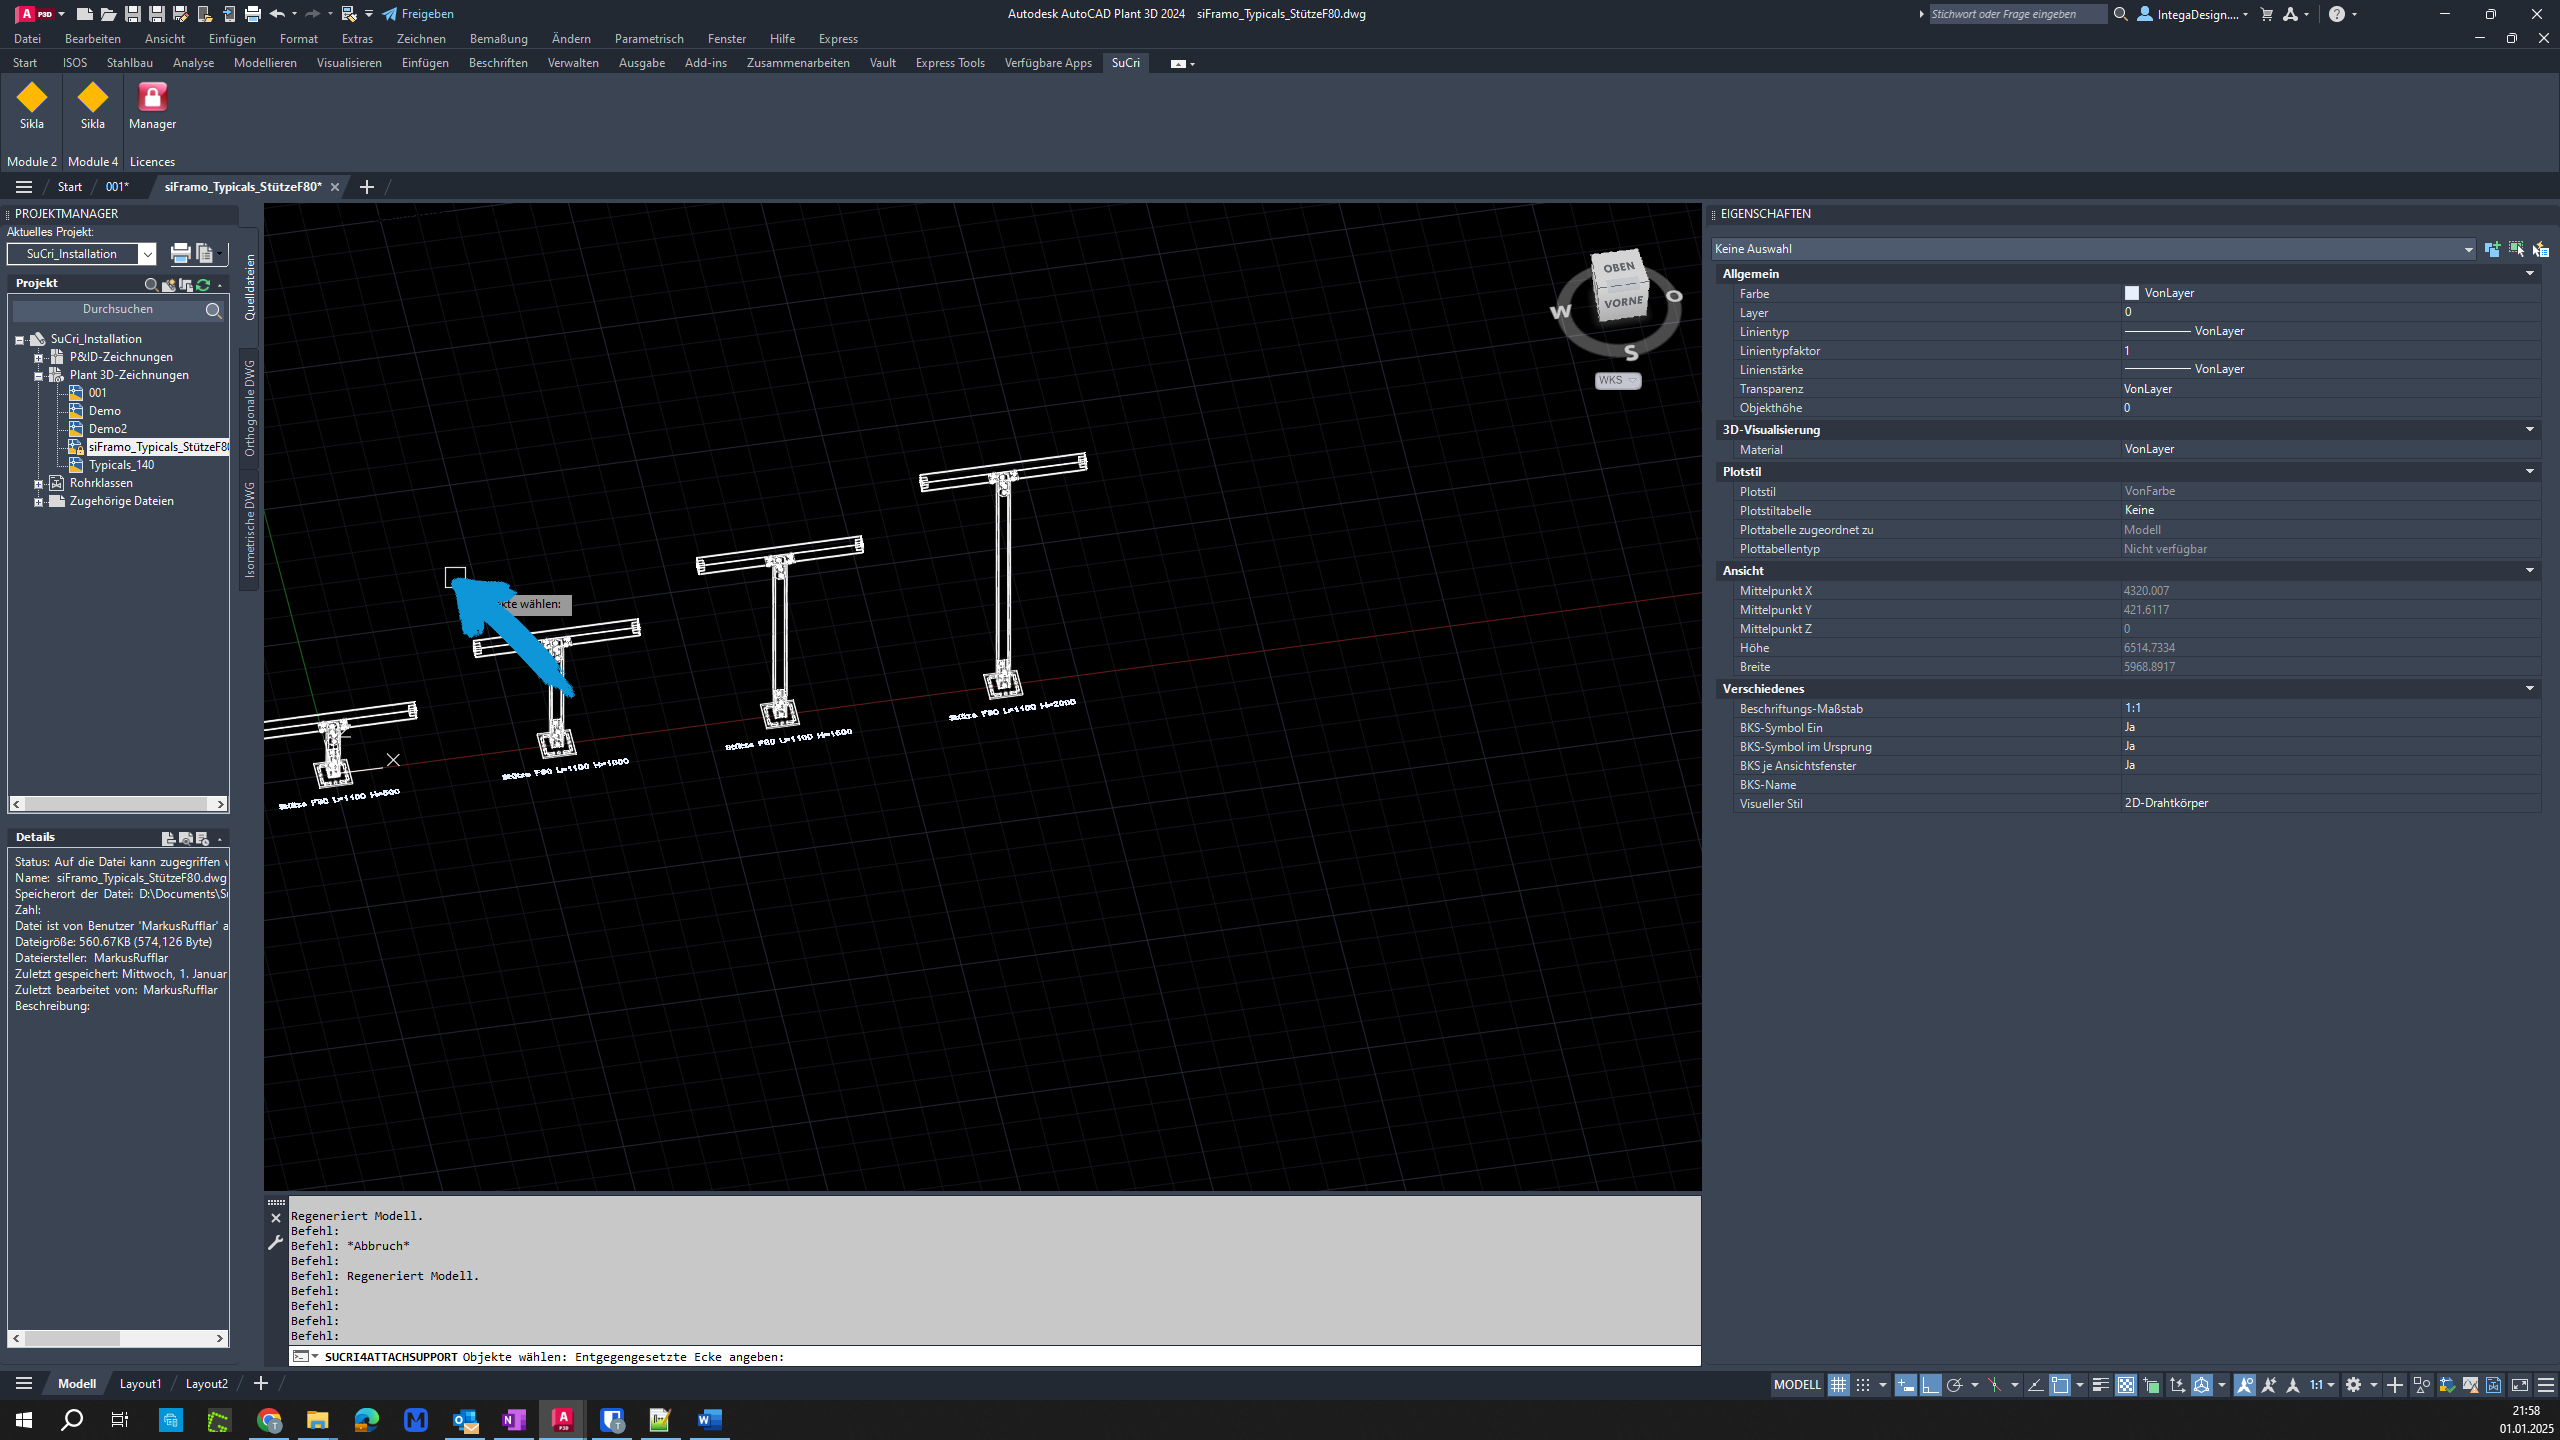
Step 3: Locate next button
Locate the next button and click it to initiate the attachment process.
Step 4: Select assembly
Select your assembly from the list to add it to the project.
Step 5: Right-click to confirm
Right-click to finalize the attachment process.
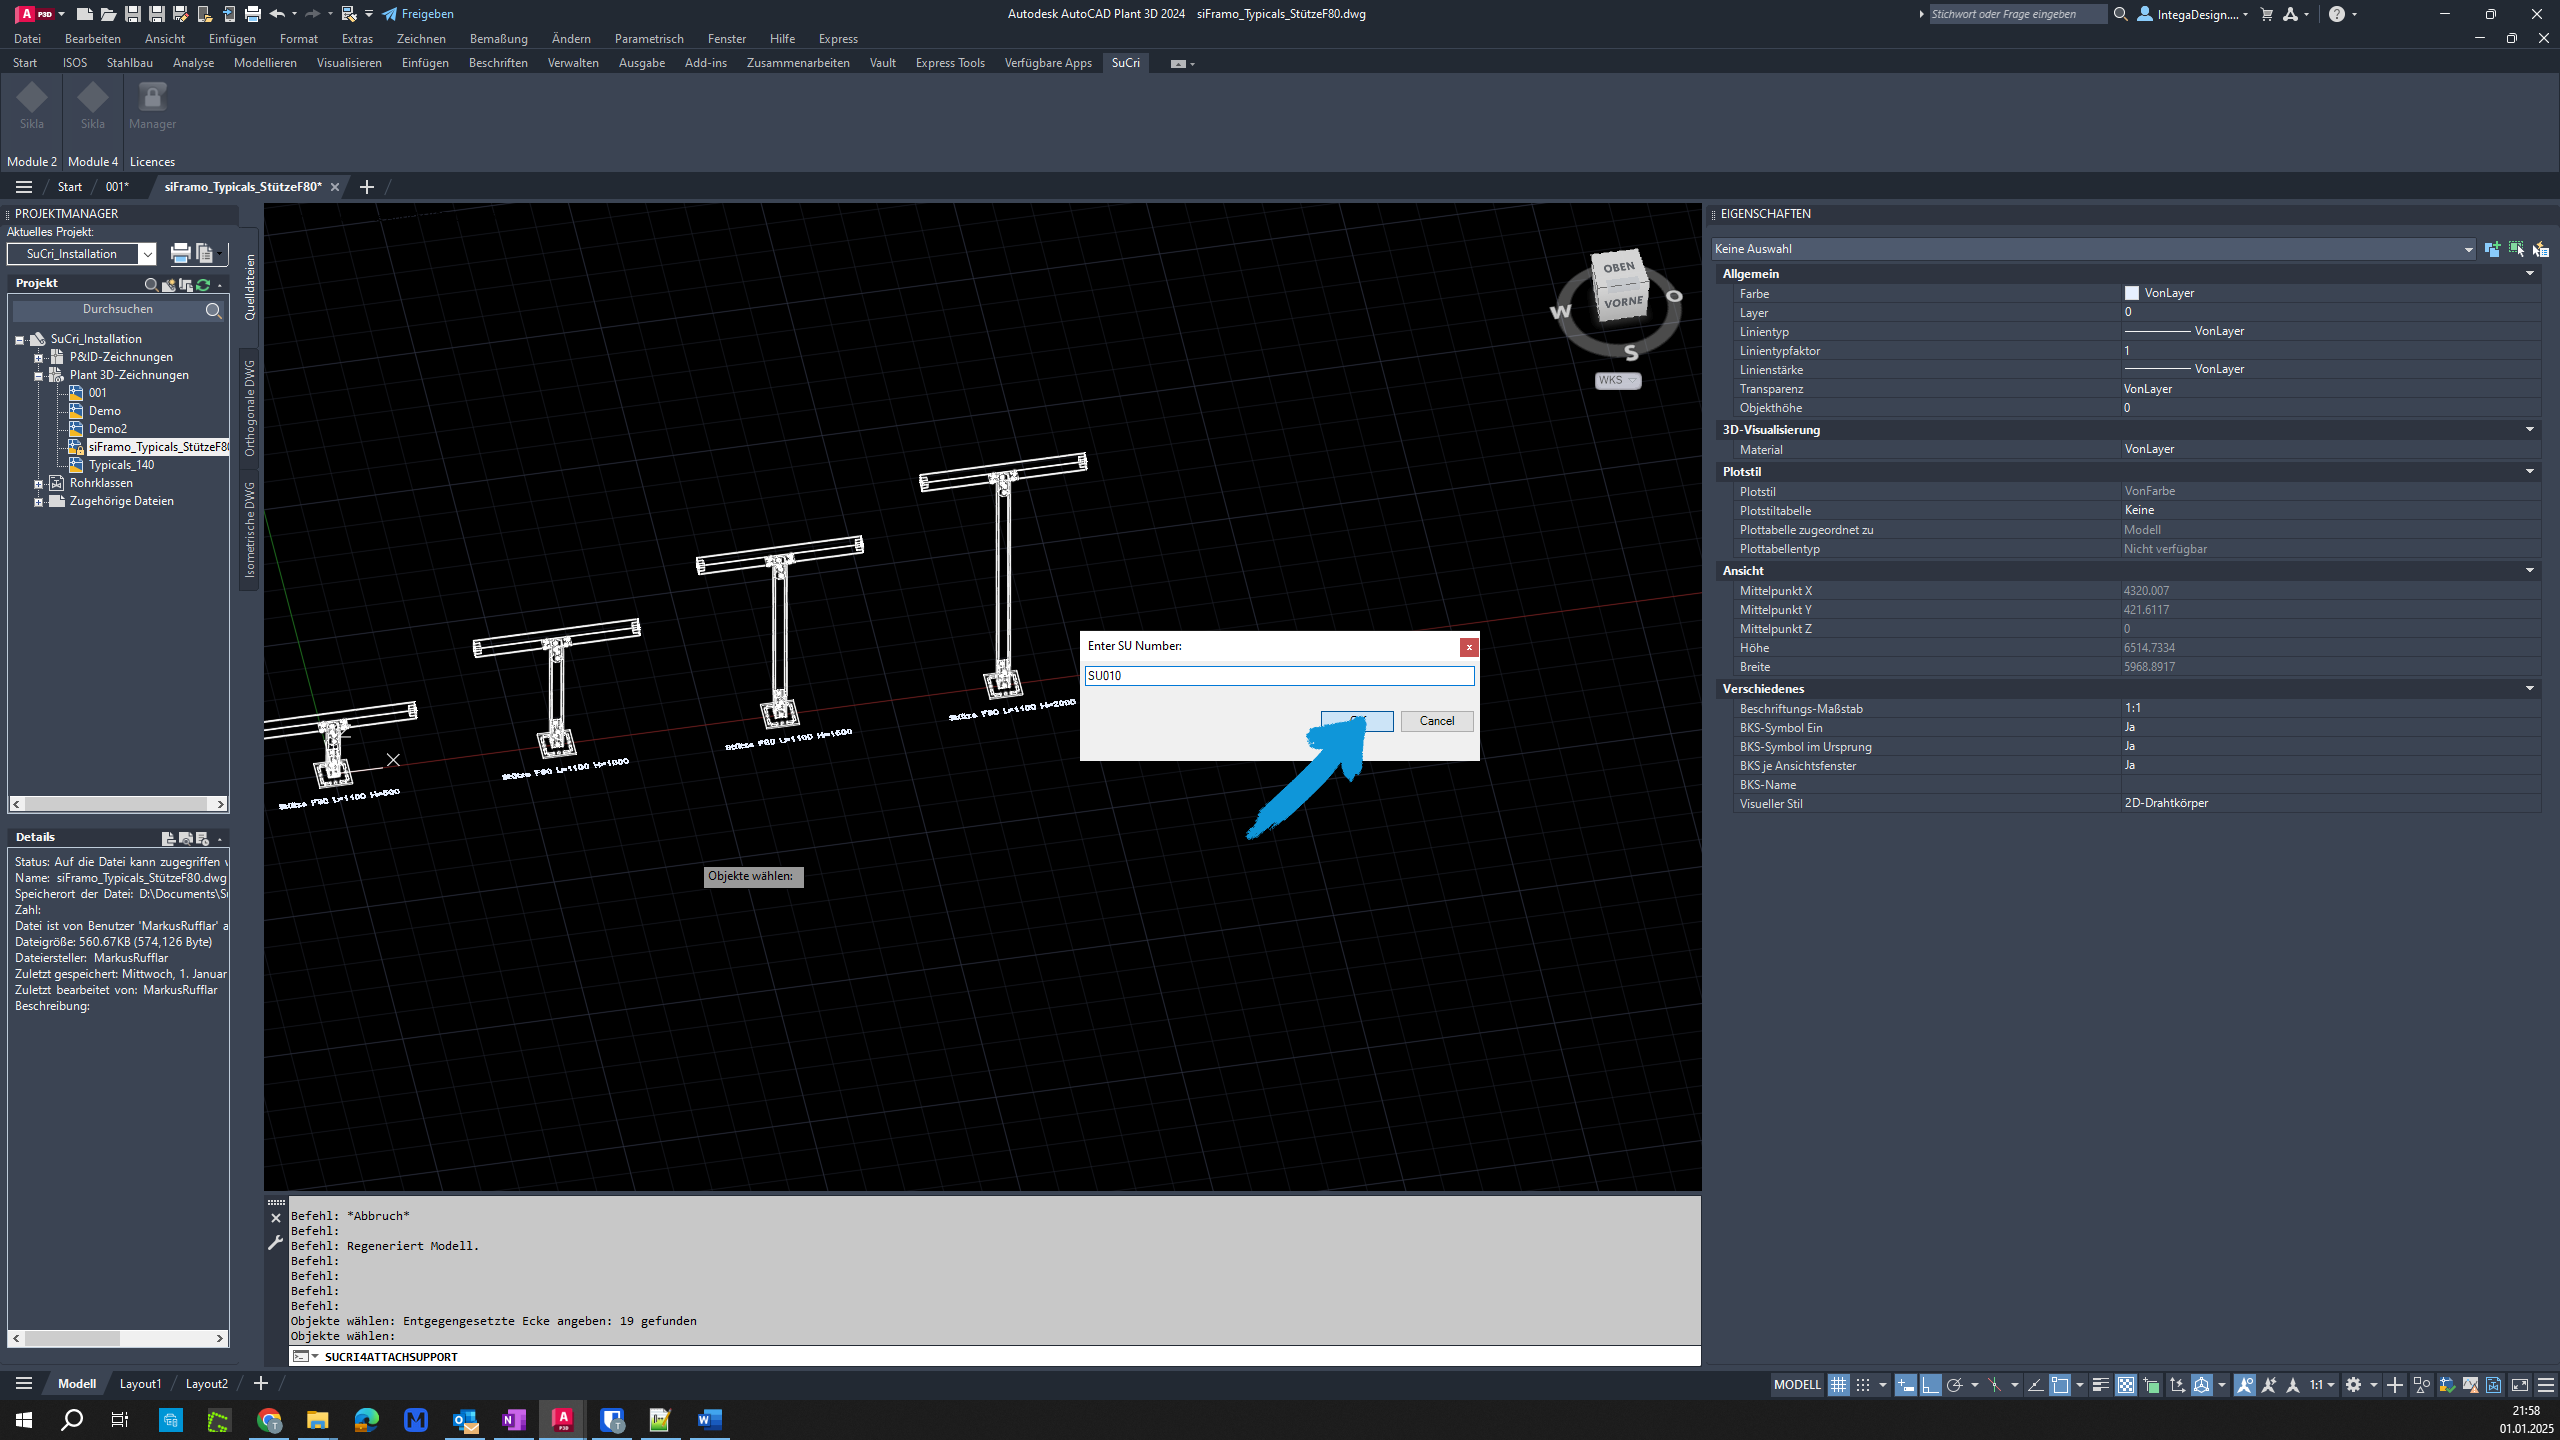
Step 6: Finalize process
The next available number will be suggested. Modify it if needed and click "OK" to complete the process.