The 'Dynamic Height Adjustment' function allows quick and precise modification of a support's height.
Video Tutorial
Step-by-Step Guide
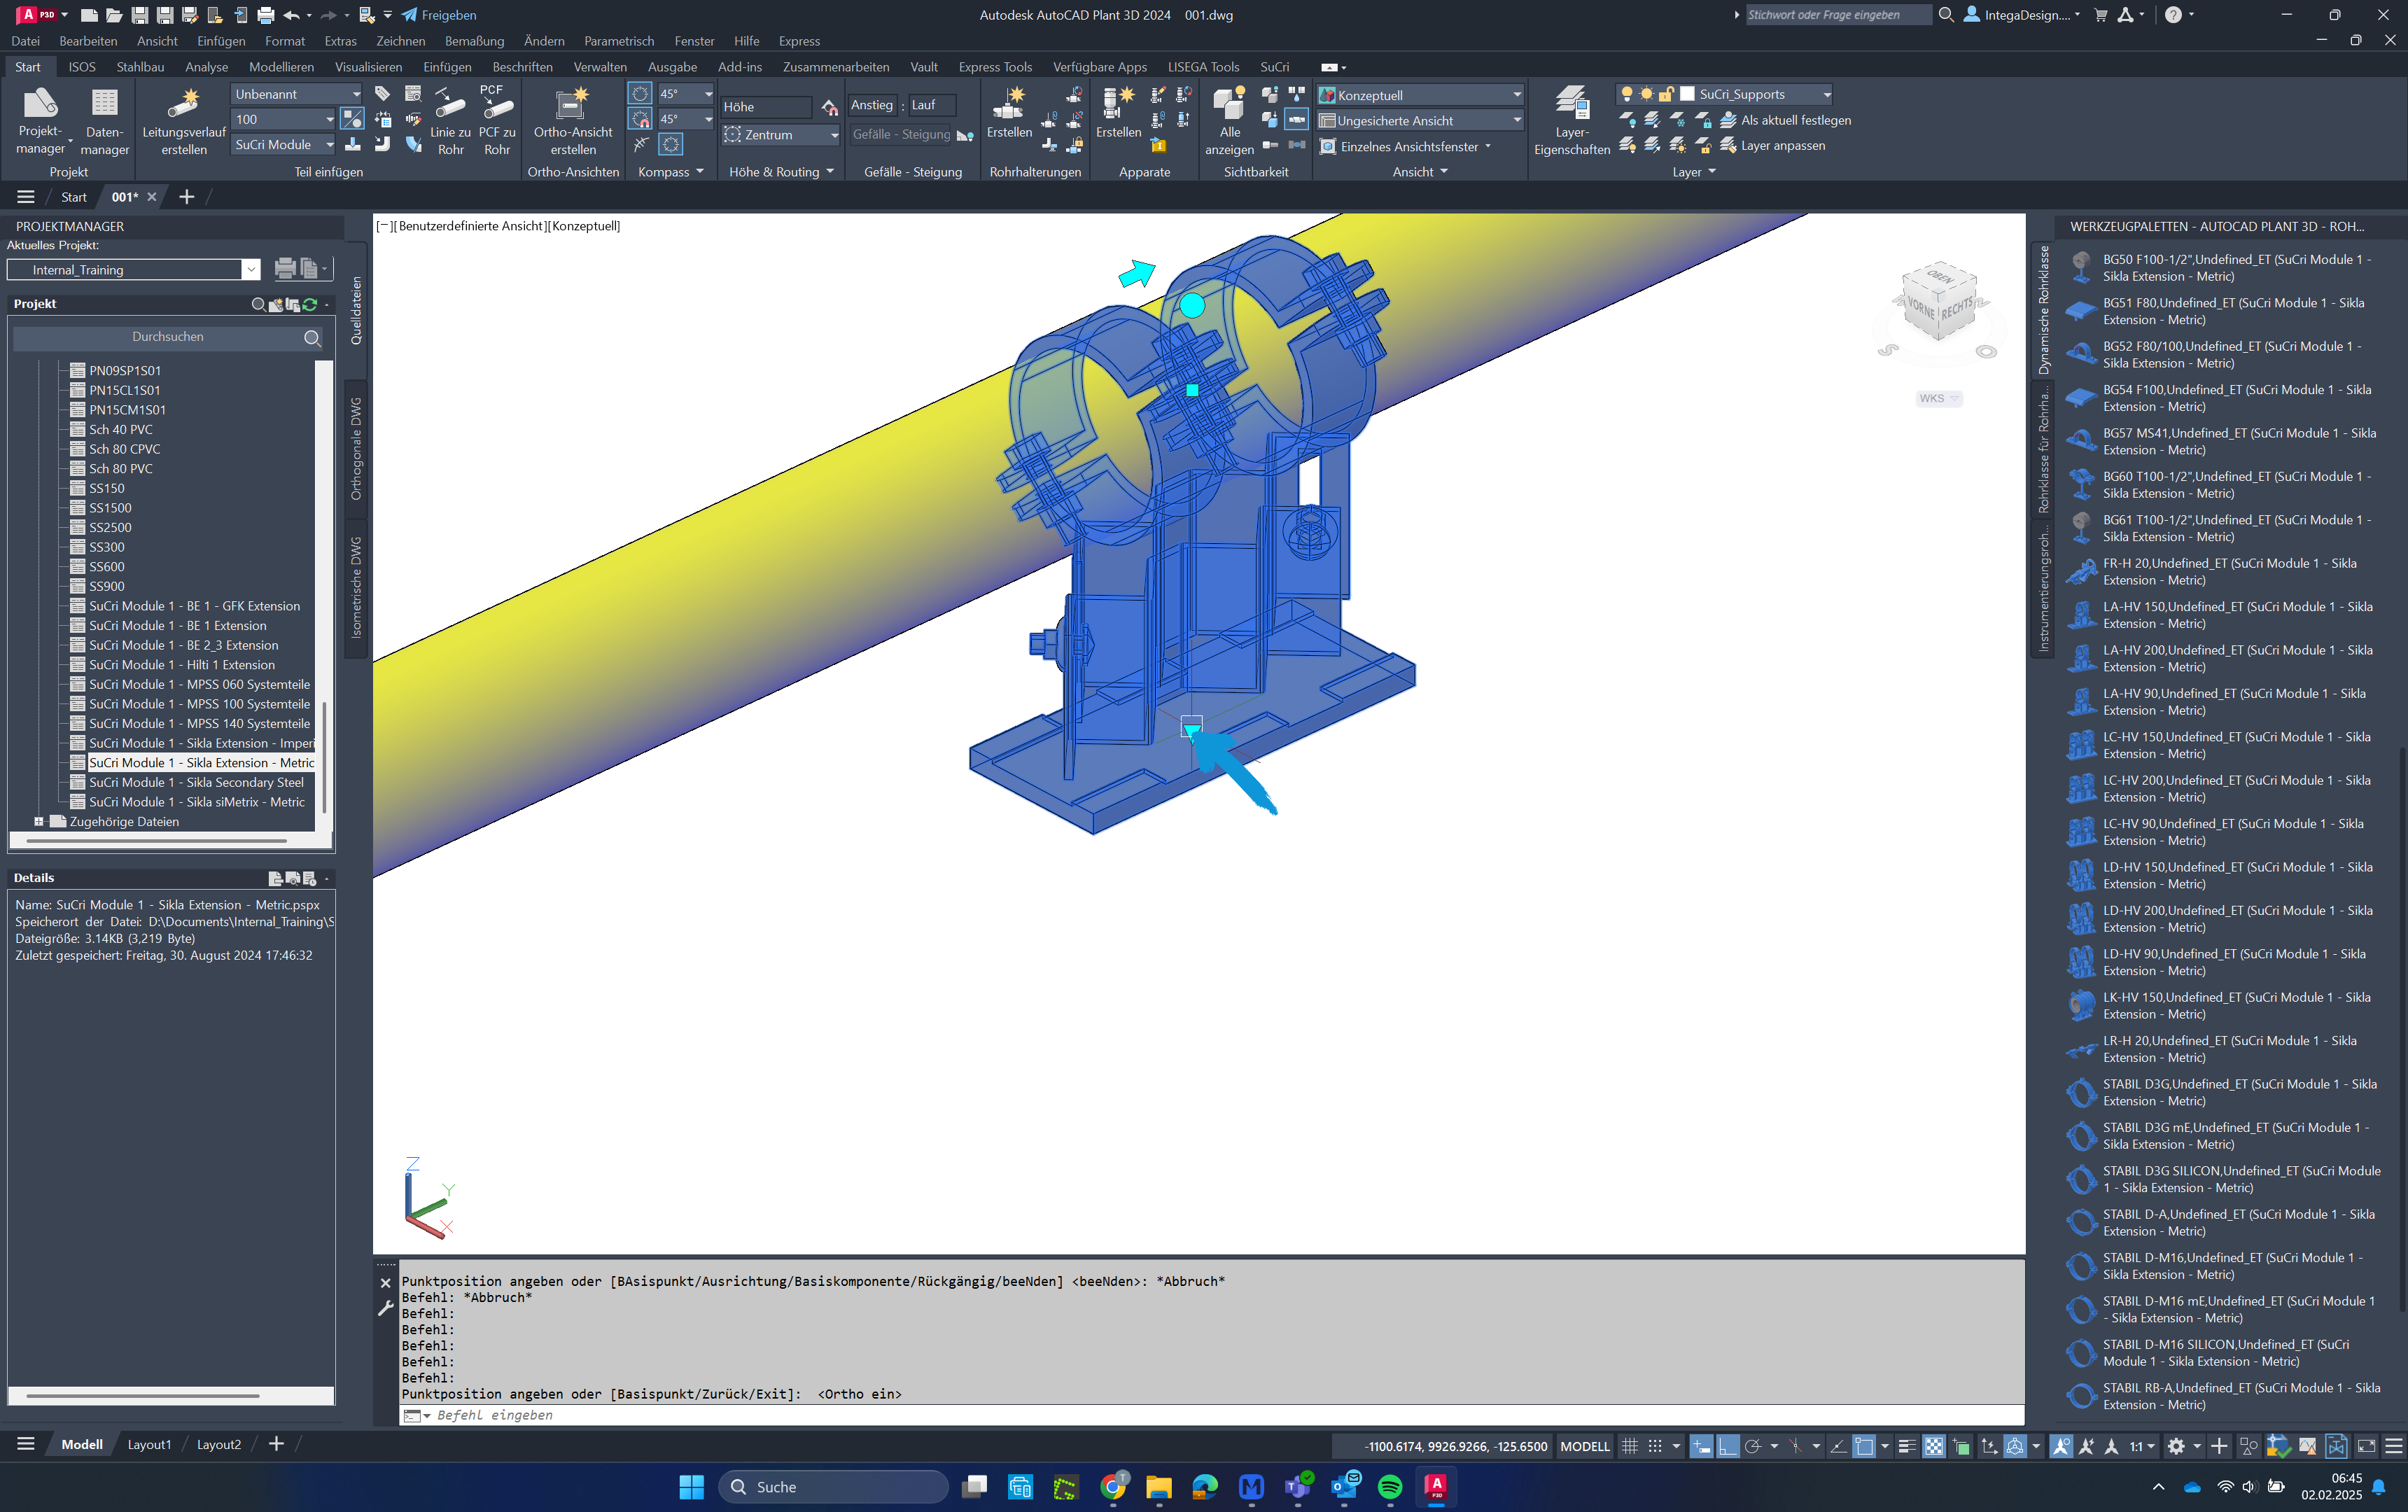
Step 1: Select a Support
Select a support where height adjustment is possible.
Step 2: Enable Ortho Mode
Press the F8 key on your keyboard to activate Ortho mode.

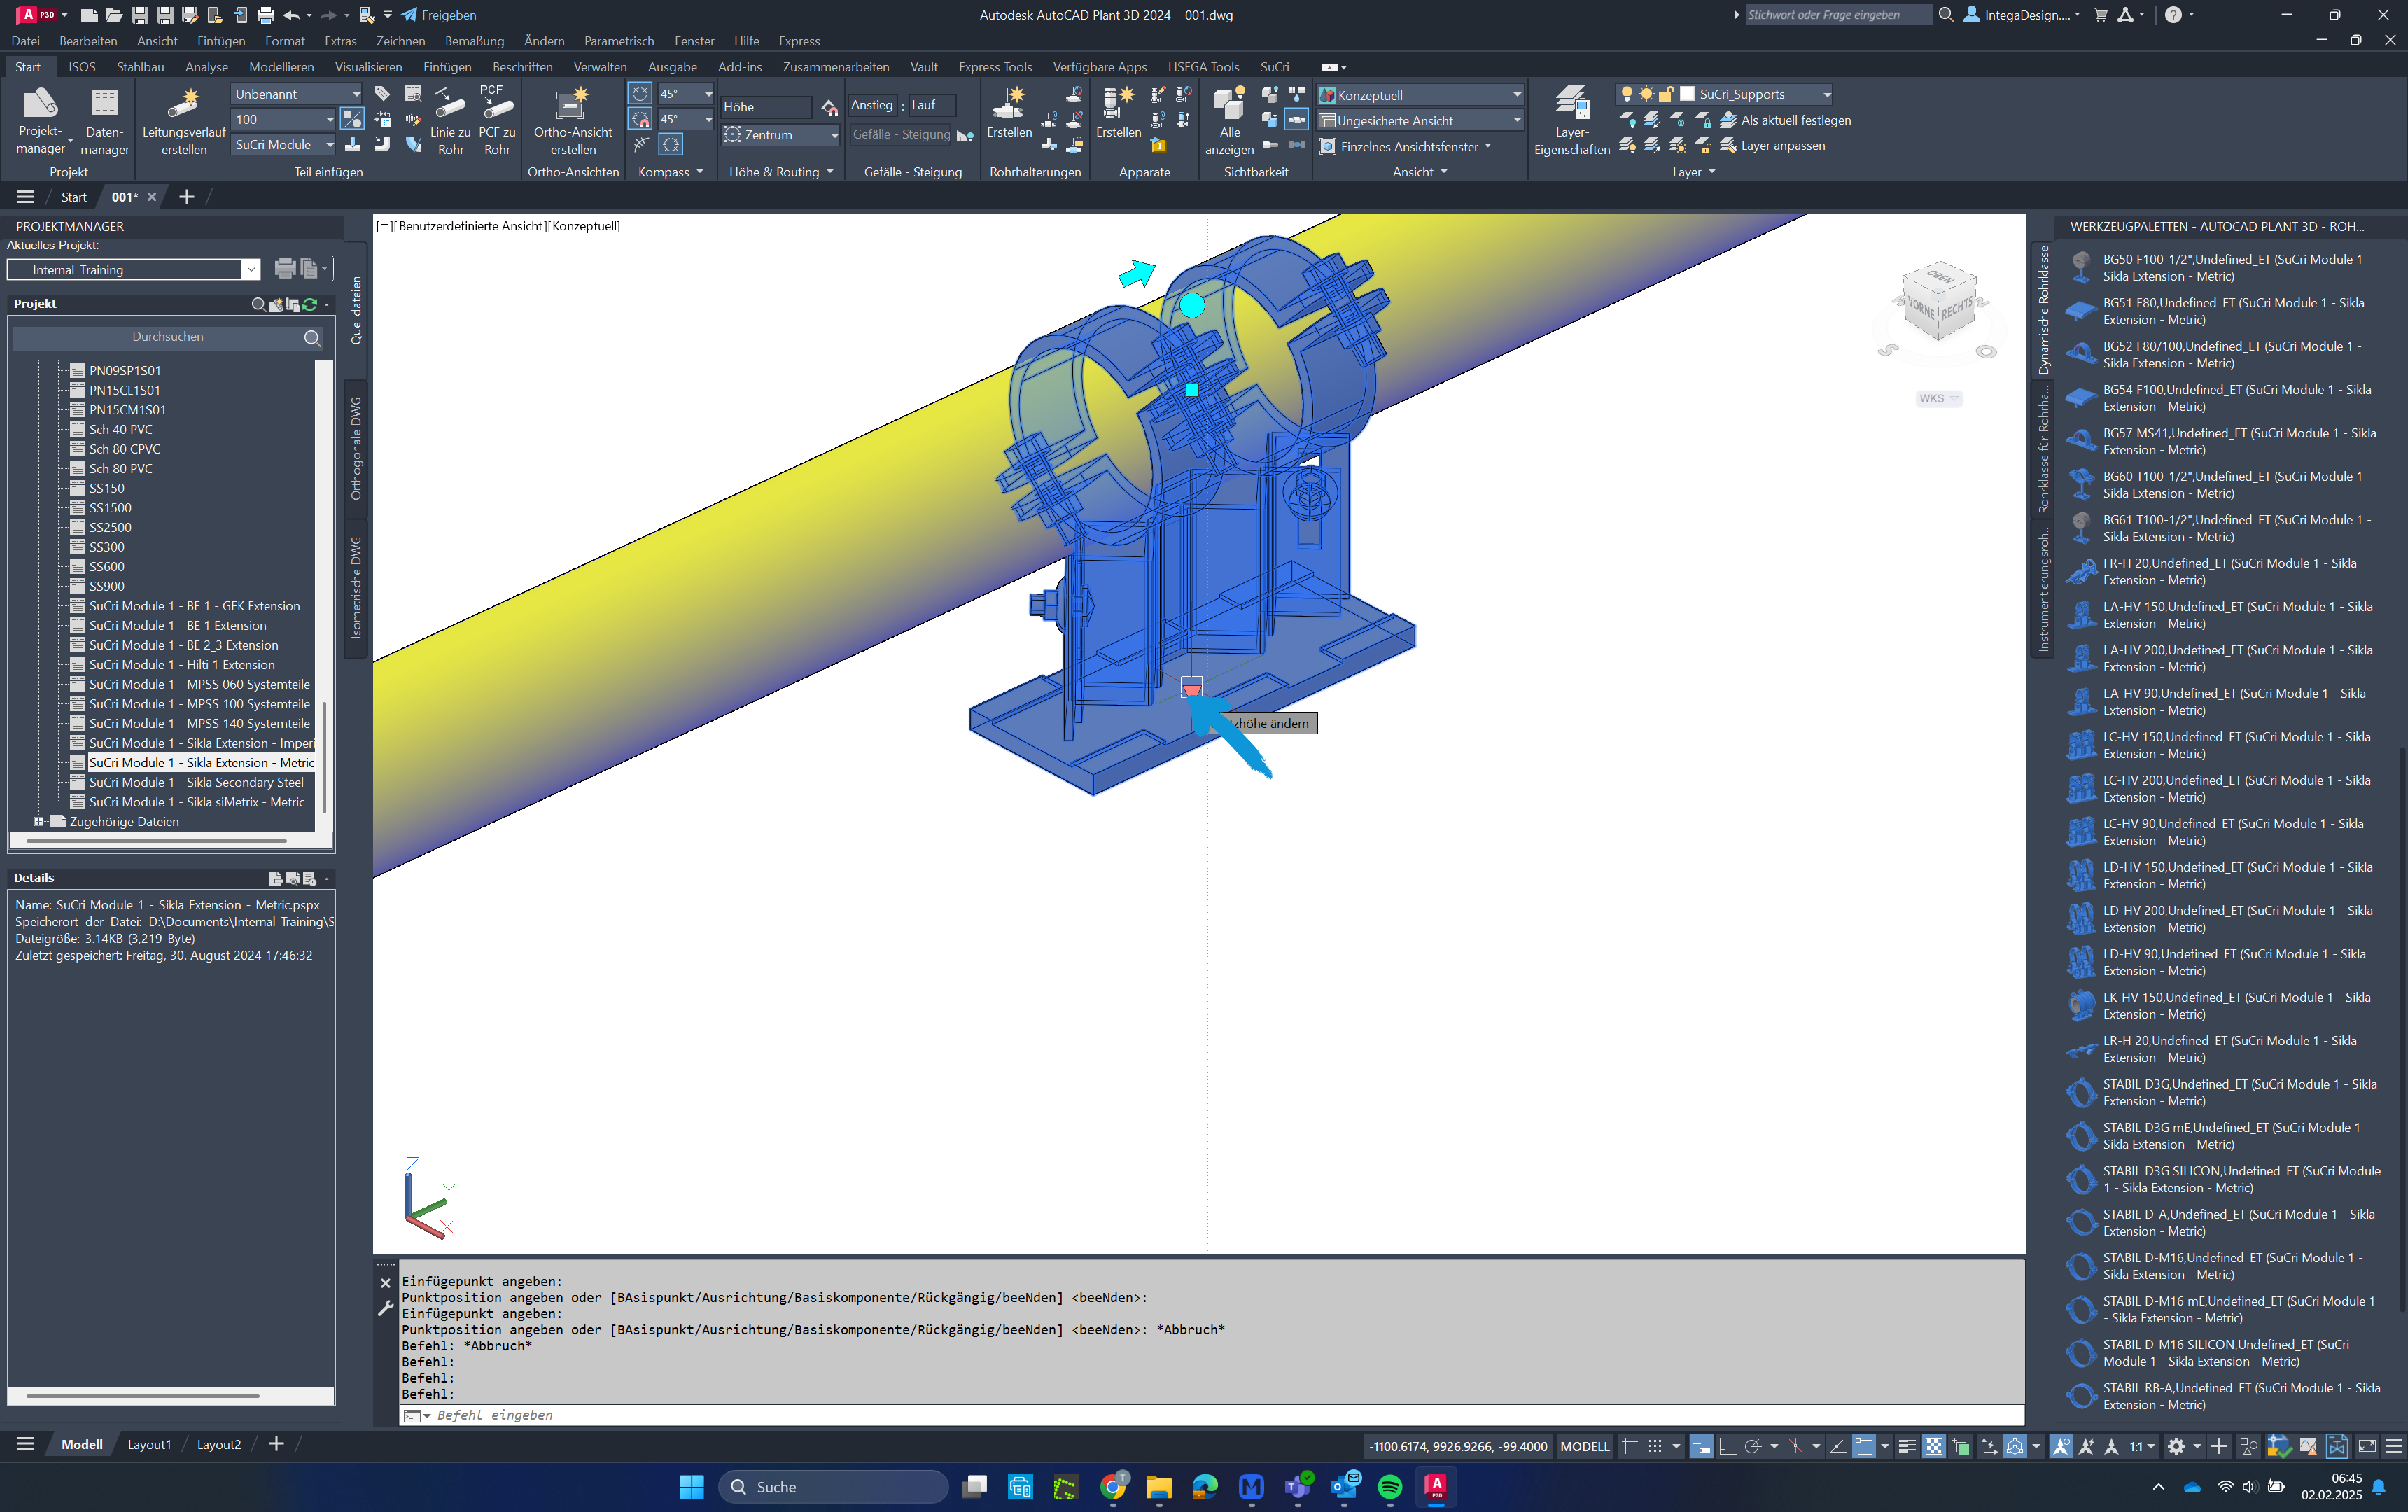
Step 3: Adjust the Height
Click again on the small blue arrow and then move the mouse in the desired direction.

Step 4: Final Adjustment
The component changes height accordingly. The blue arrow represents the lowest point of the support.
The height adjustment is only possible within the maximum allowable range according to the datasheet. This range is already correctly stored in SuCri.