The 'Define Drawing Area' function in SuCri enables precise definition and customization of viewport areas.
Video Tutorial
tbc
Plant3D Command
SUCRI4PLANTORTHODRAWAREA
Step-by-Step Guide
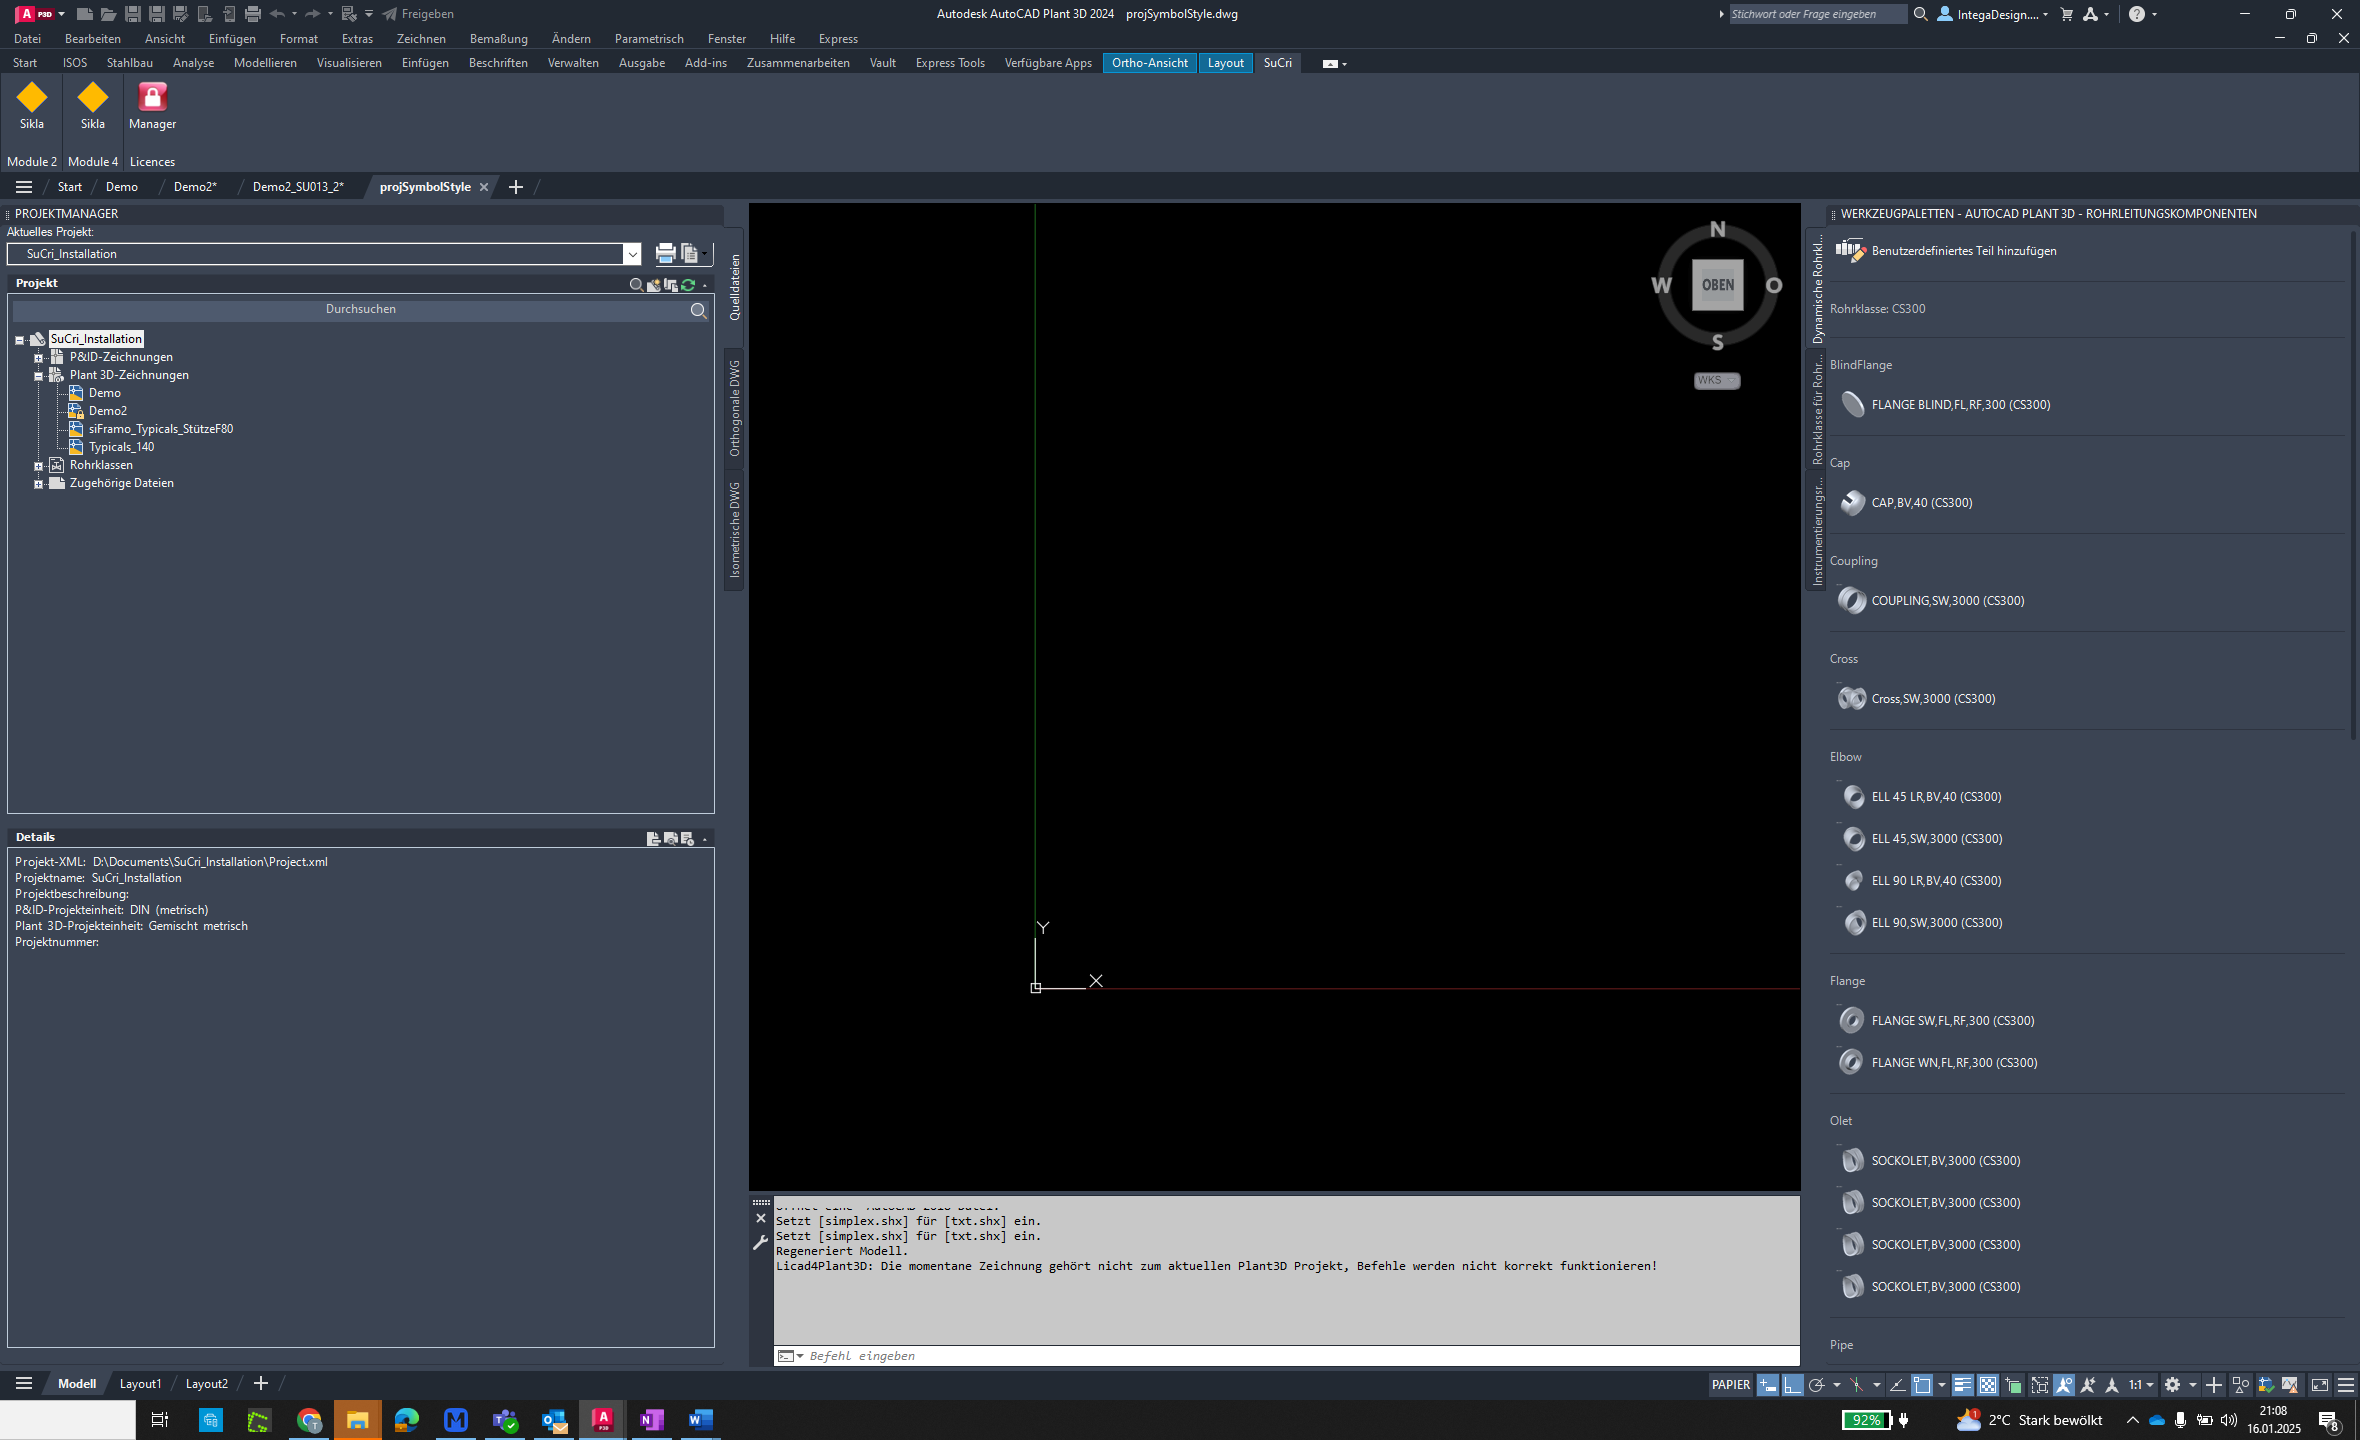
Step 1: Open Project Configuration
Open AutoCAD and right-click on your project. Select "Project Configuration..." from the dropdown menu.
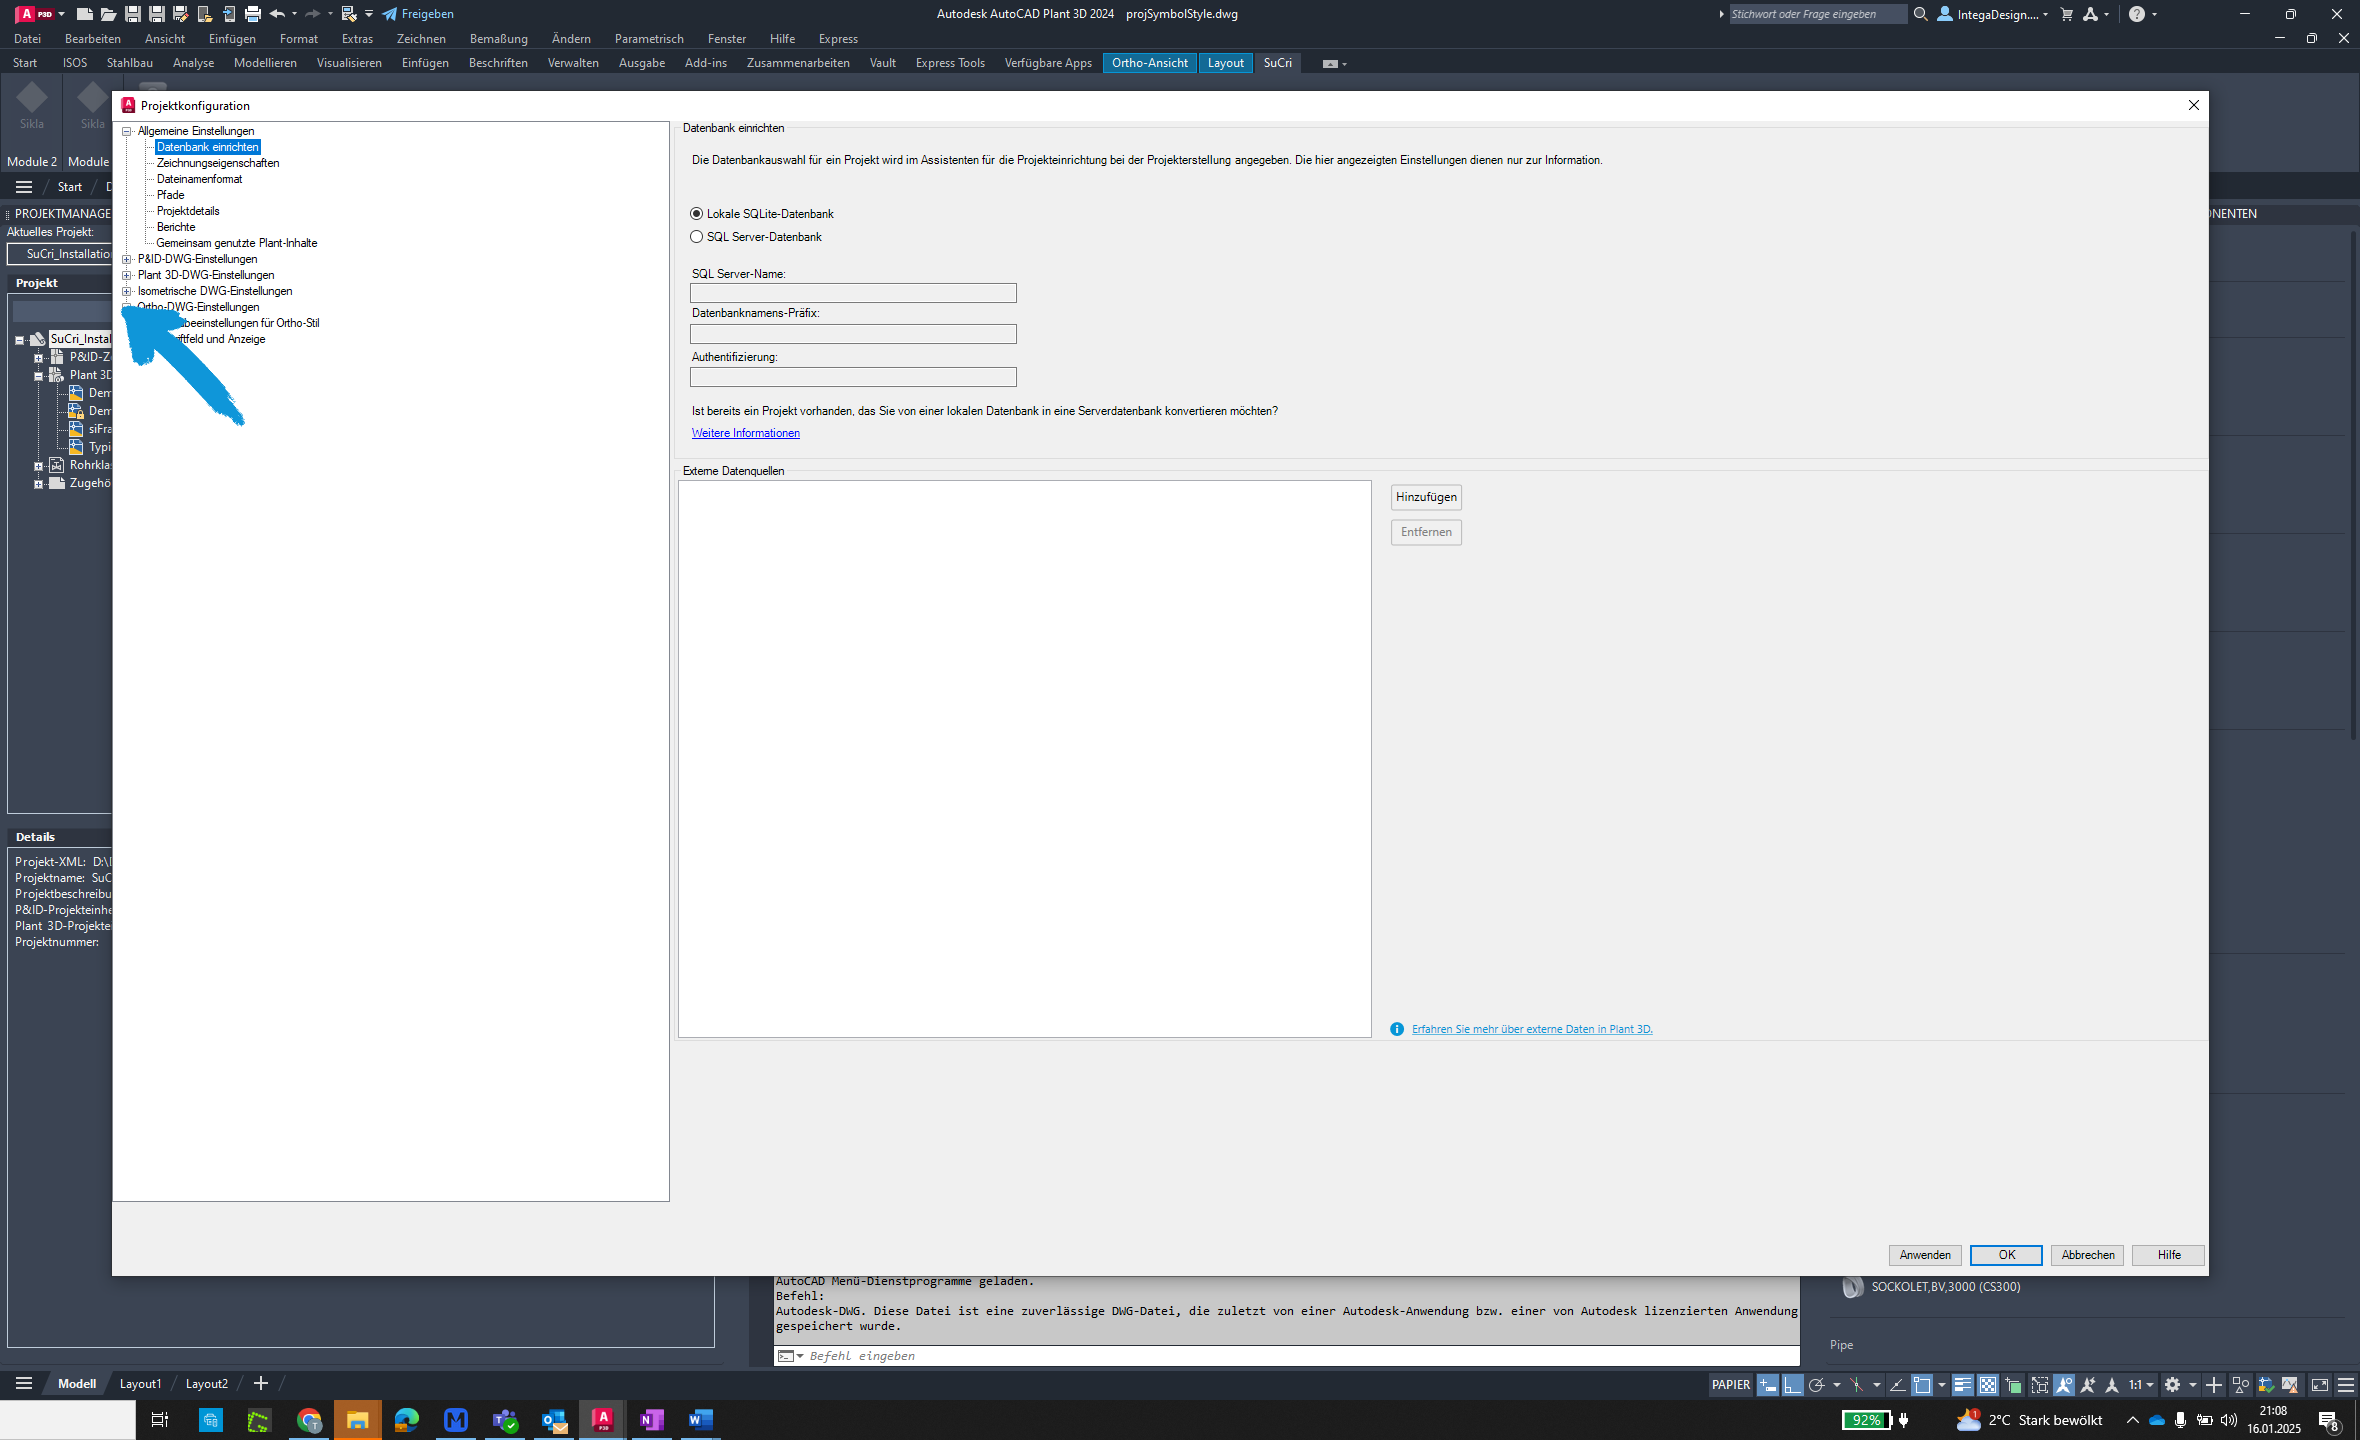
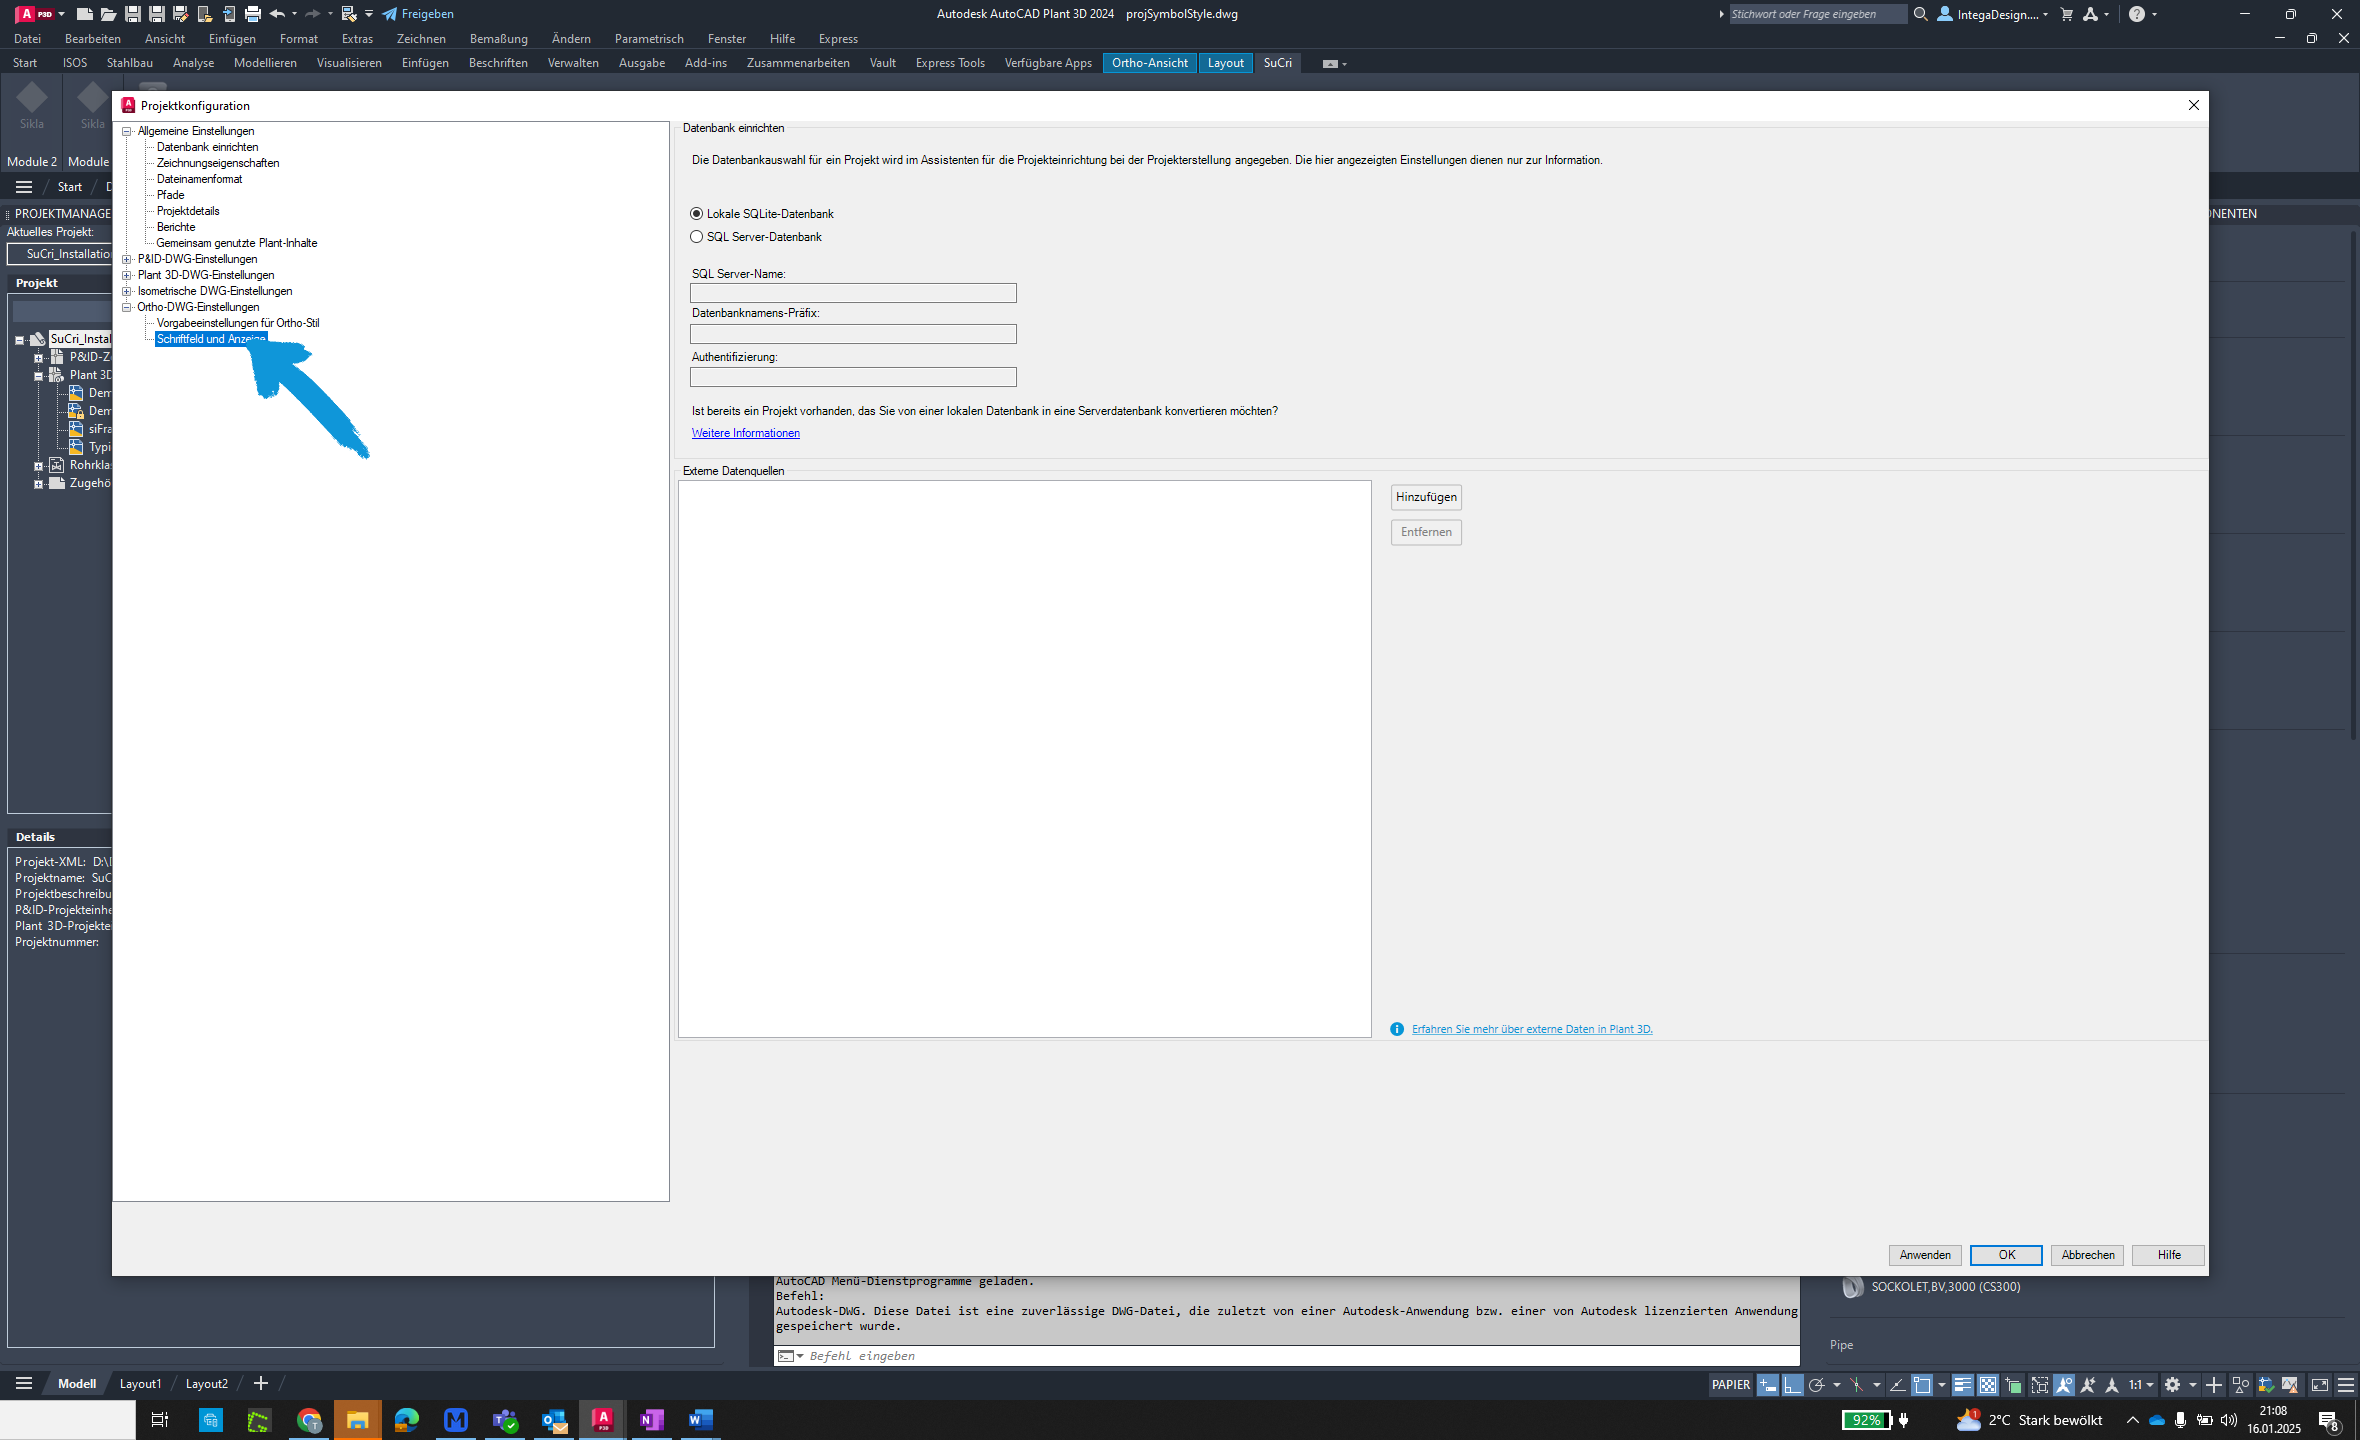
Step 2: Ortho DWG Settings
Click on "Ortho DWG Settings". Navigate to "Title Block and Display" and click on it.
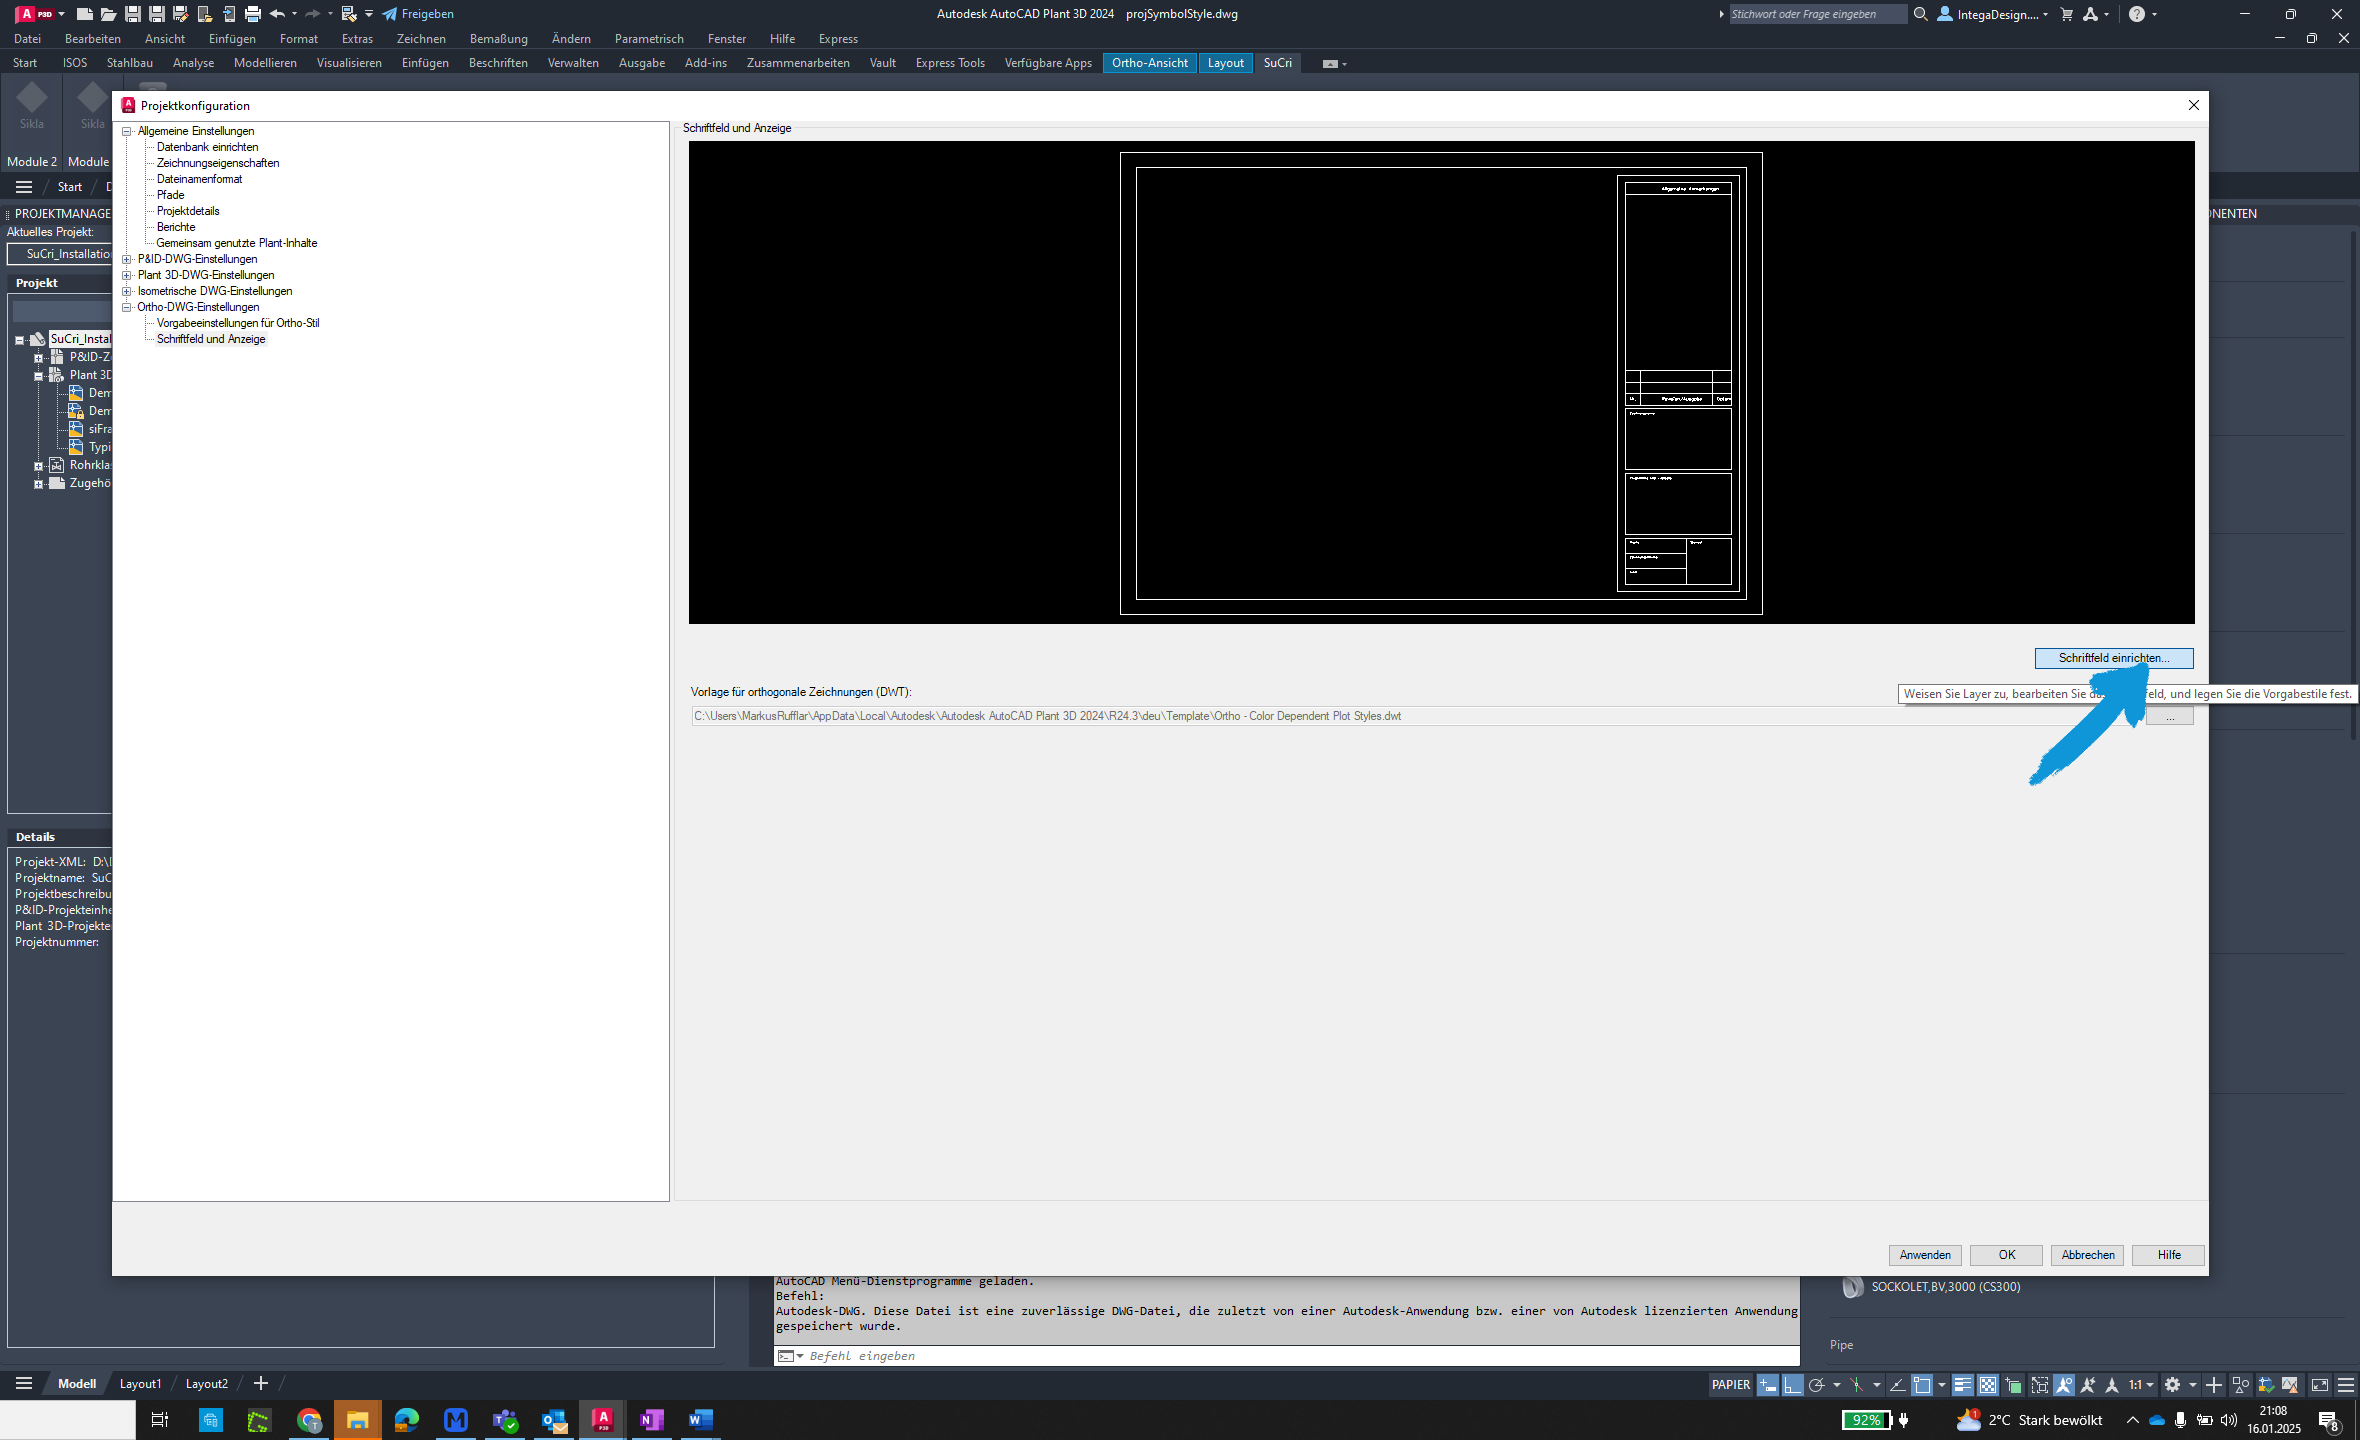
Step 3: Set up Title Block
Click on the "Set Up Title Block..." button and select "SuCri".
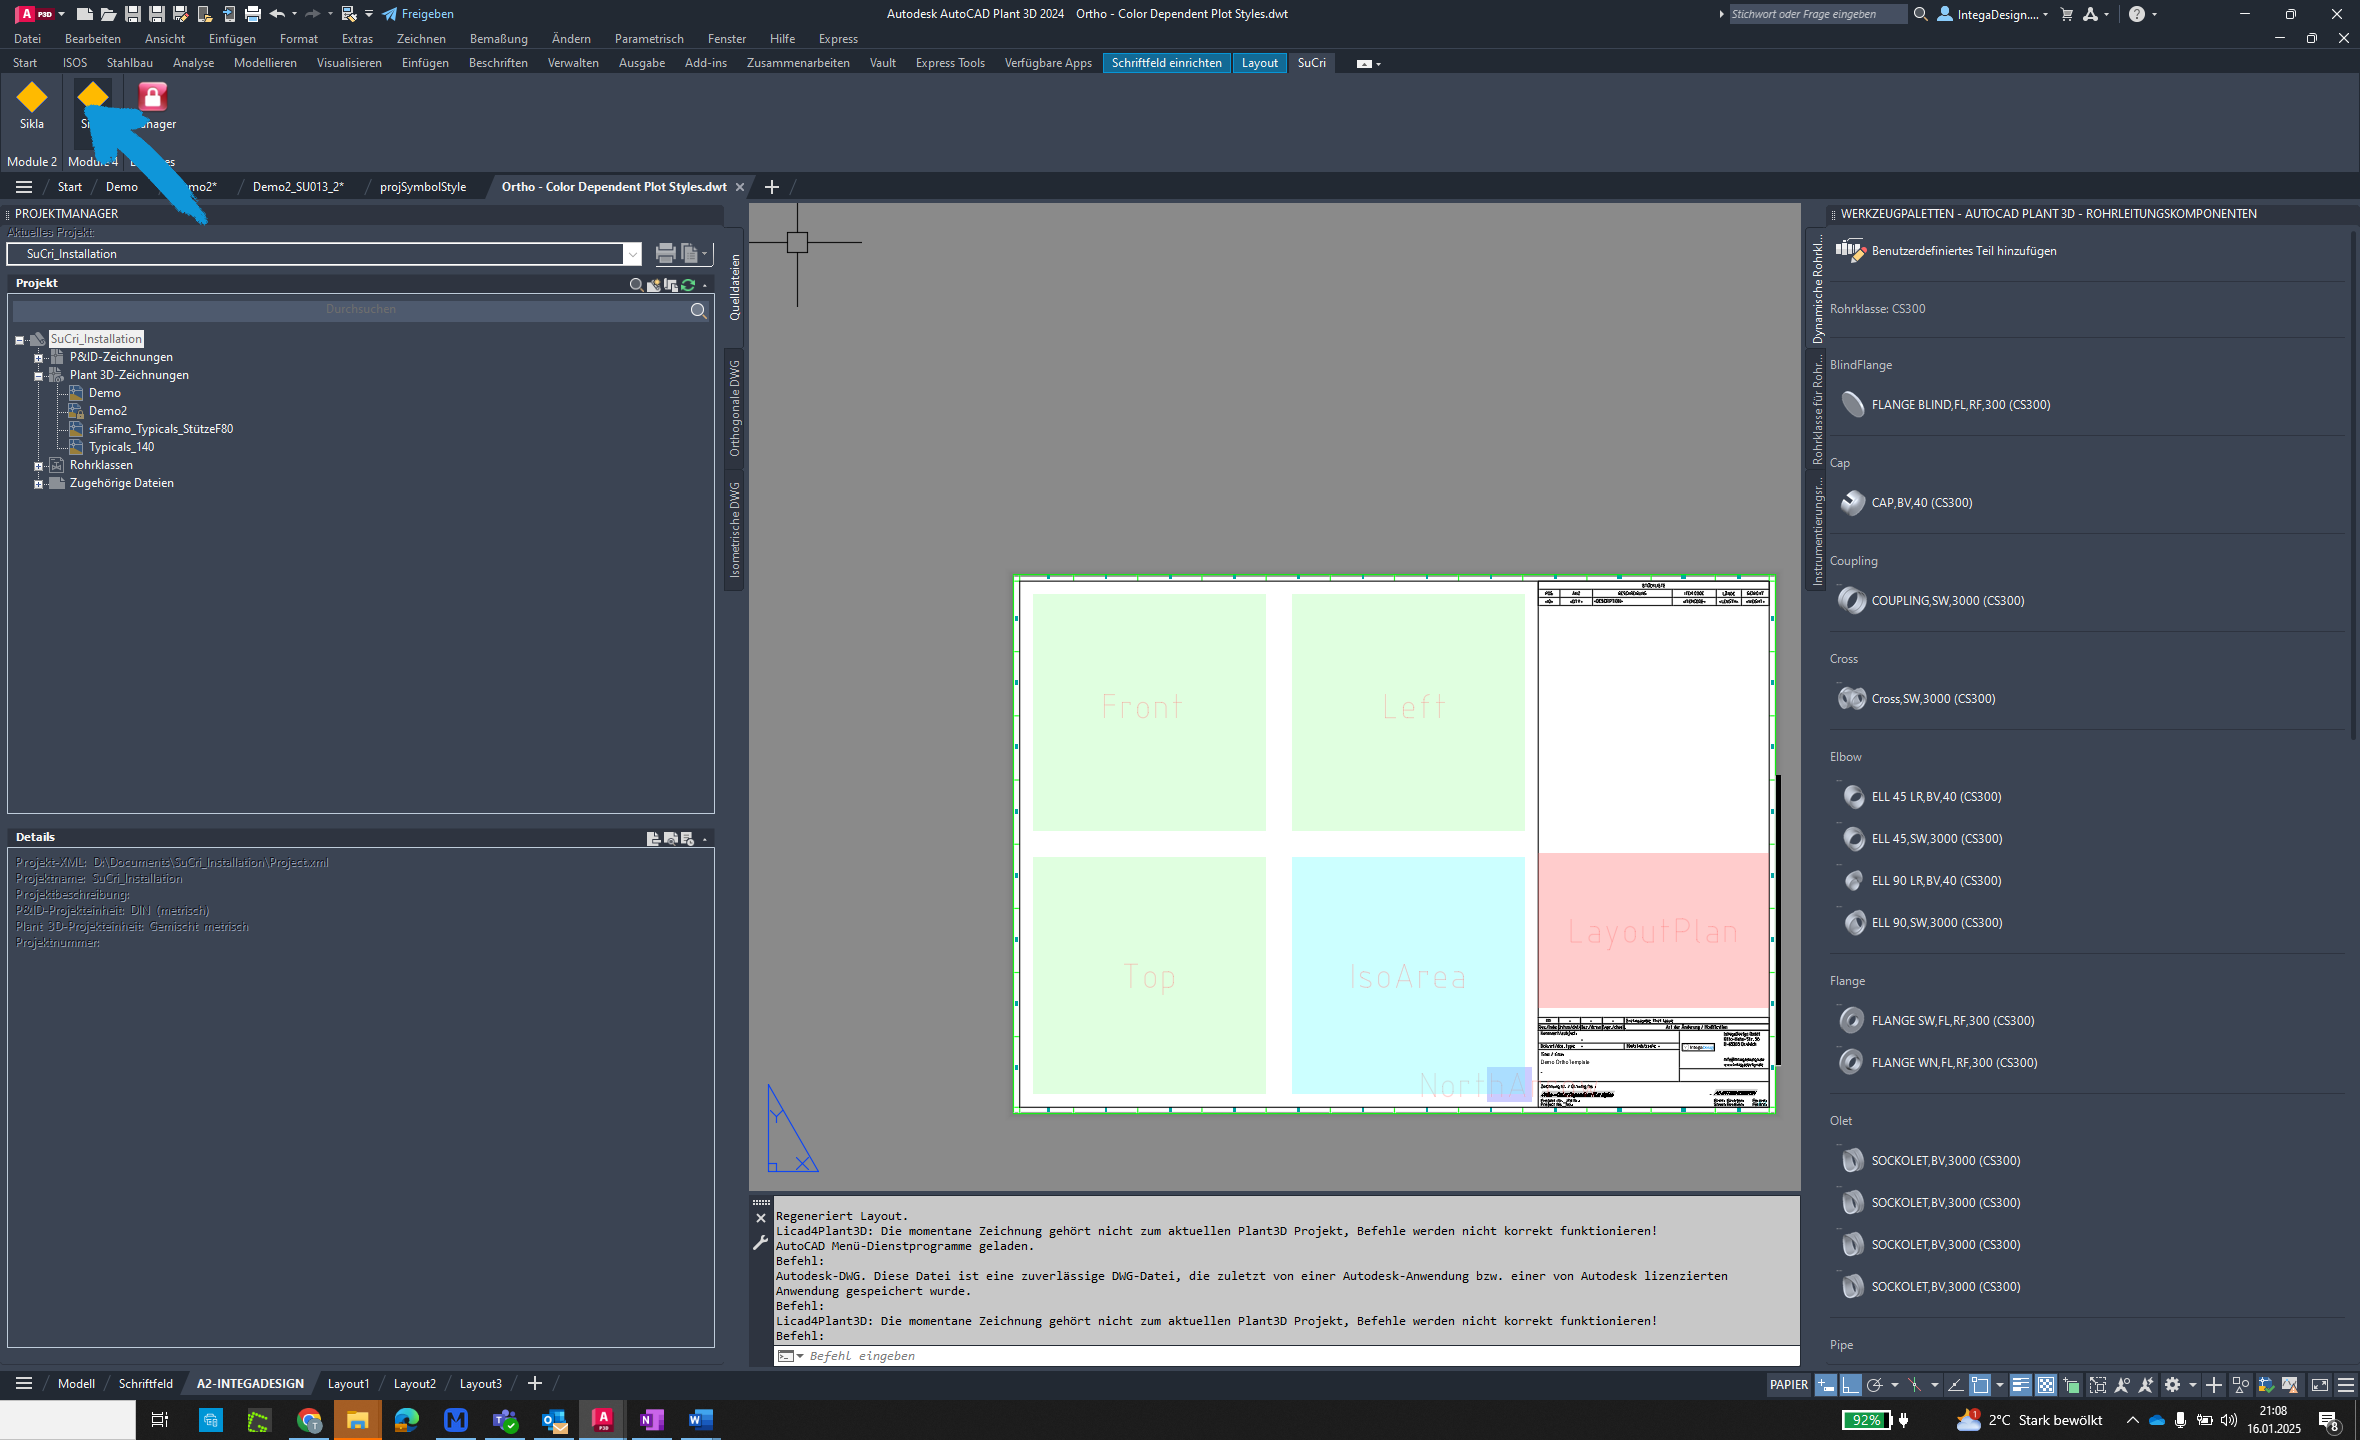
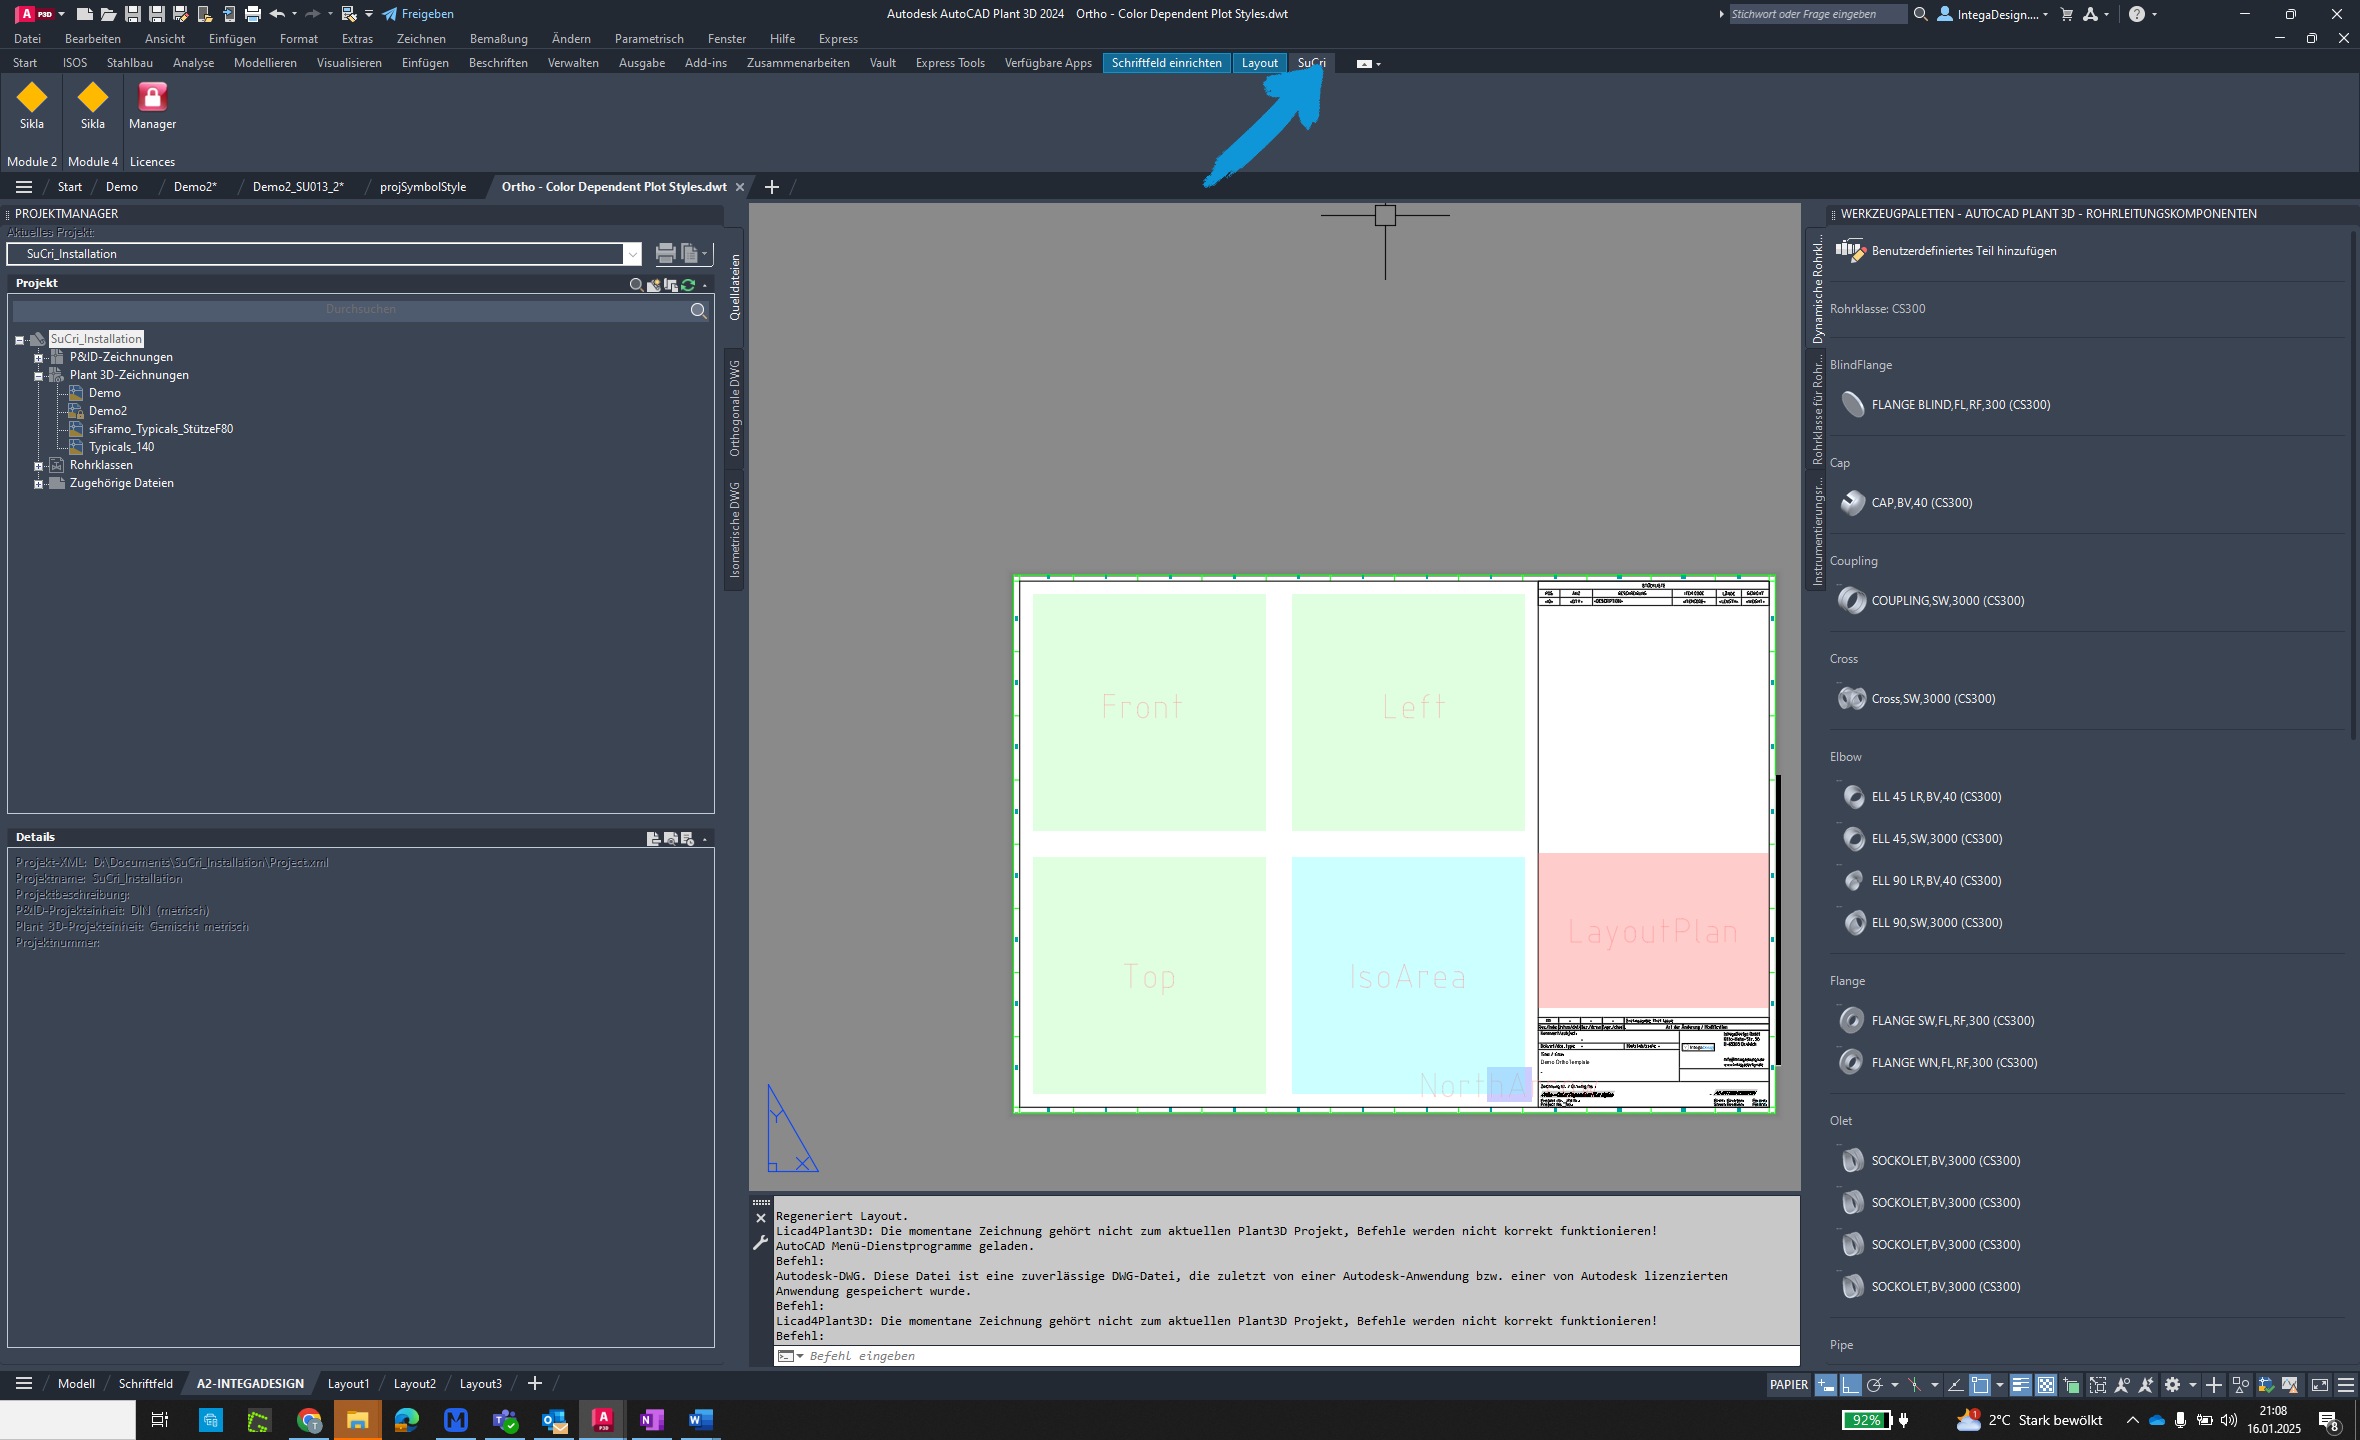
Step 4: Open Module 4
Click the button to open the Module 4 dialog. Then, select "Options".
Step 5: Define Drawing Area
Click the "Define Drawing Area" button and select your desired viewport area.
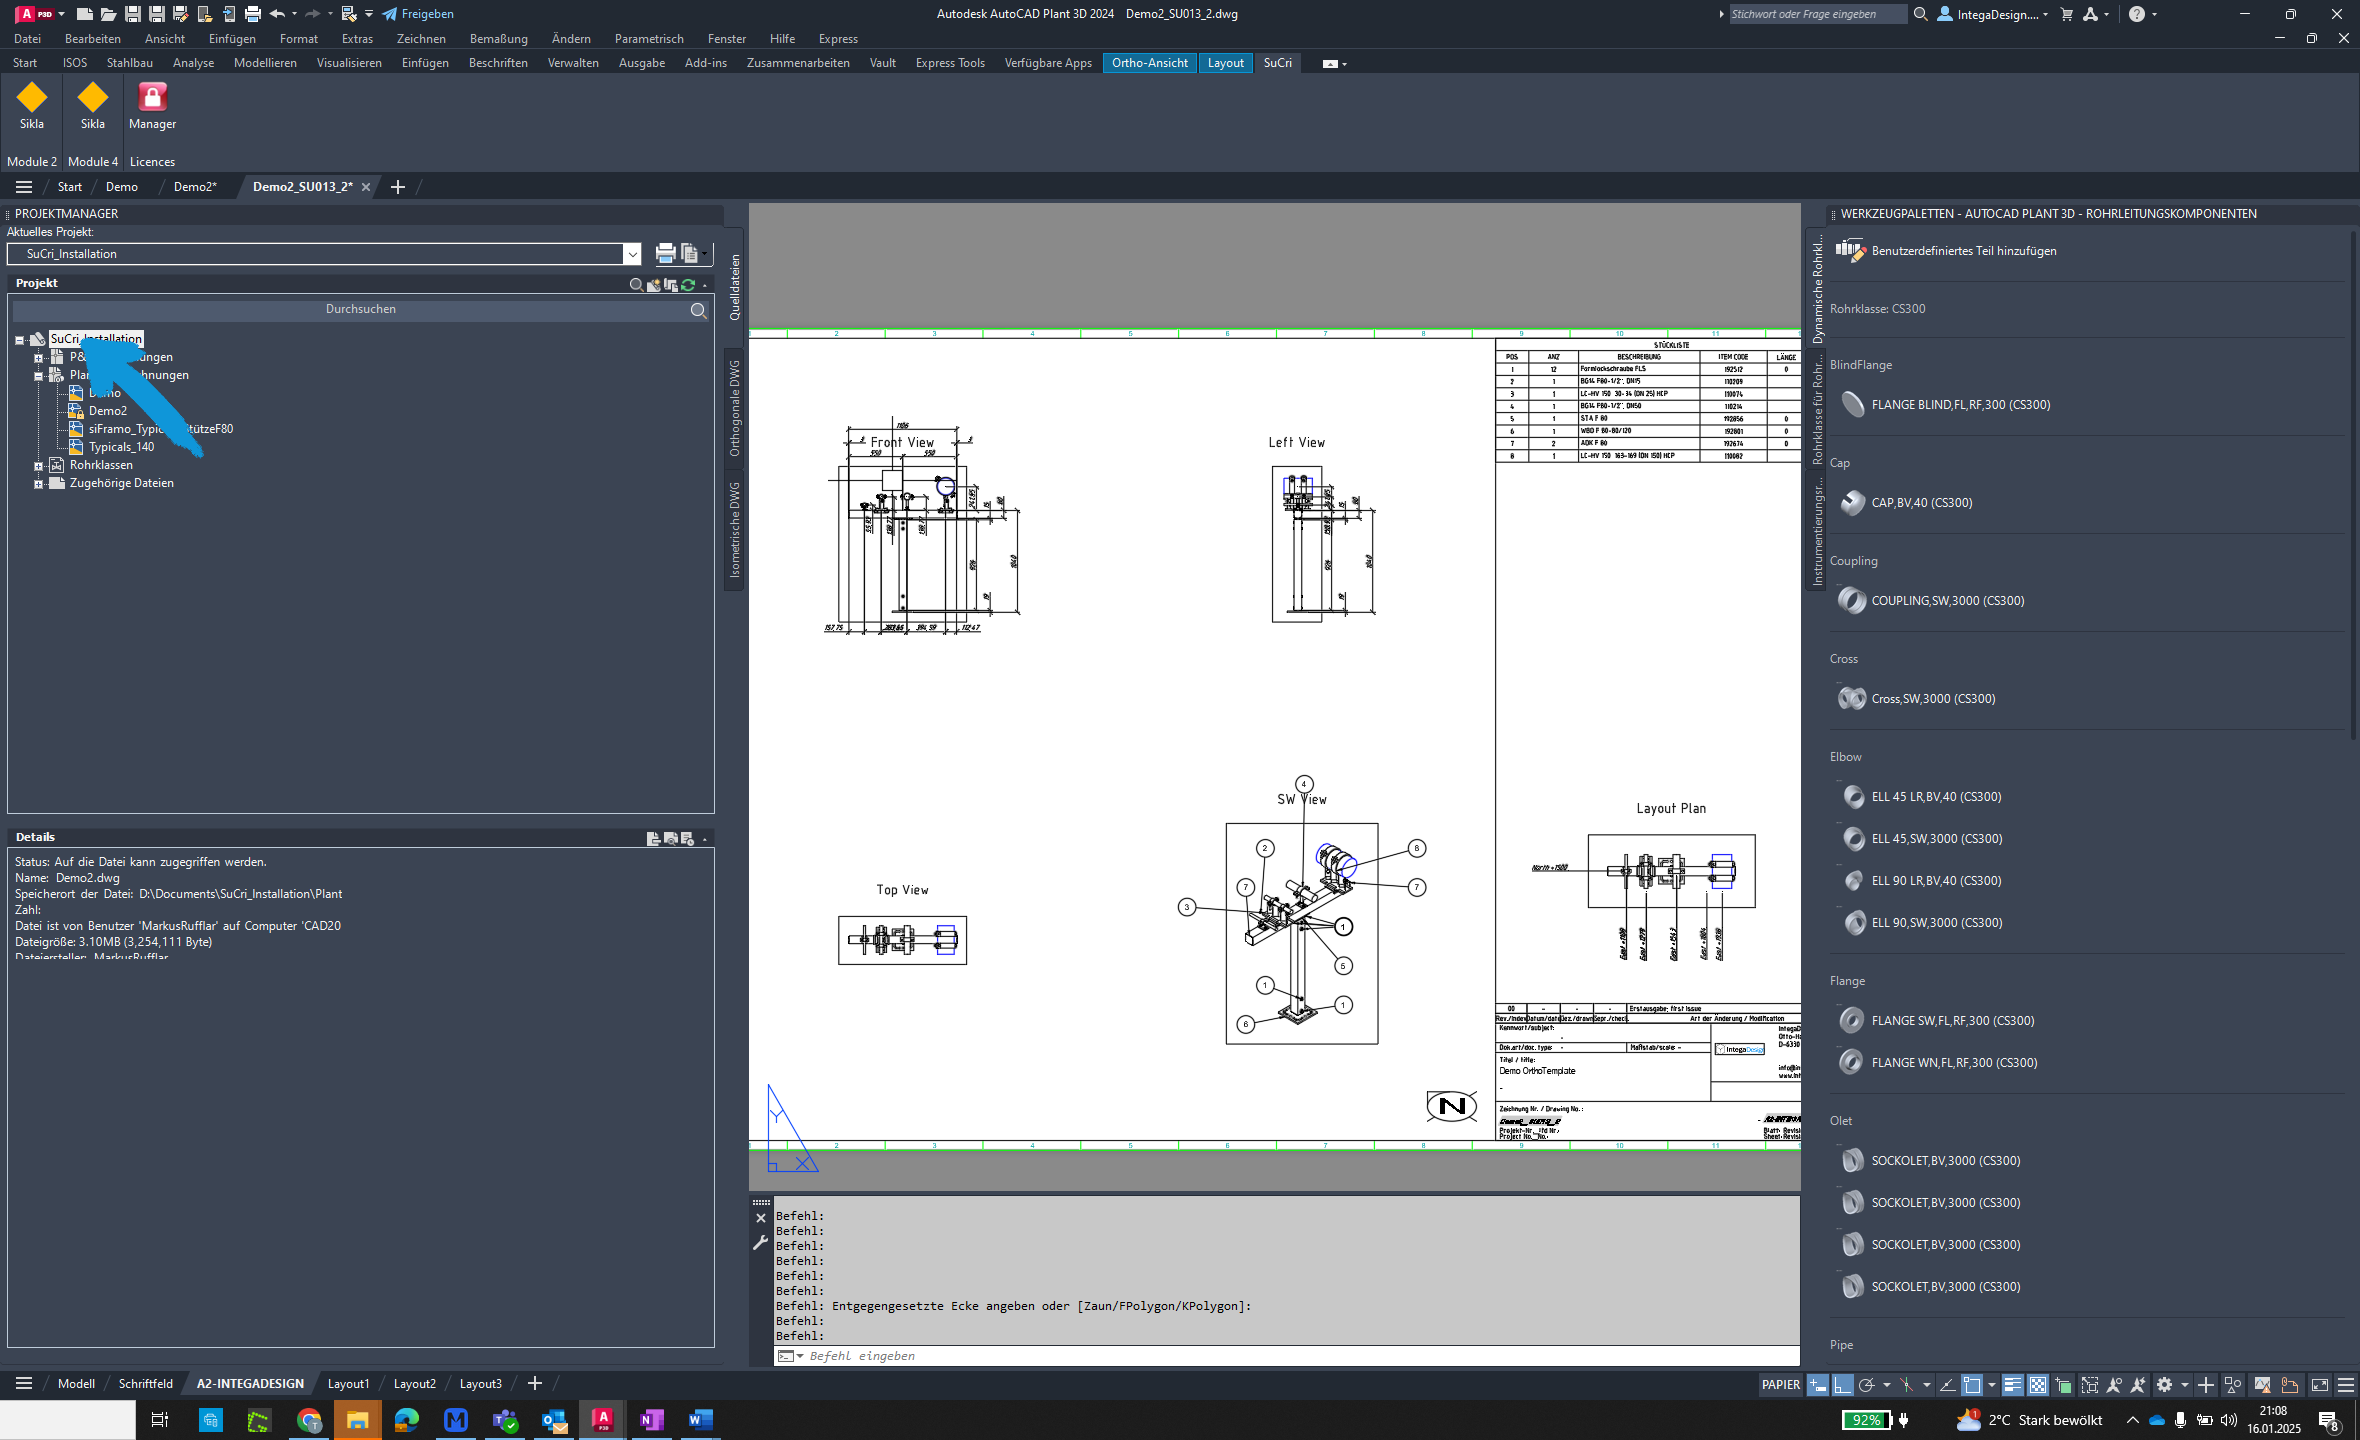
Step 6: Set Position
Drag the element to the desired position and click on it.
Step 7: Verify Success
Your viewport area has been successfully placed. Verify the settings.